> ## Documentation Index
> Fetch the complete documentation index at: https://docs.oxen.ai/llms.txt
> Use this file to discover all available pages before exploring further.
# 💬 Text Generation
> How to fine-tune an LLM for text generation.
This tutorial will show you how to fine-tune an LLM for text generation. Text generation is useful for tasks like classification like sentiment analysis where you have a single input and output you want the model to learn. Small language models are great for tasks like this because they are fast and cheap to fine-tune and run.
If your application needs to maintain a history of chat messages\[] as context for the model, you should follow the [Chat Completions](/examples/fine-tuning/chat_completions) tutorial.
## Upload Your Dataset
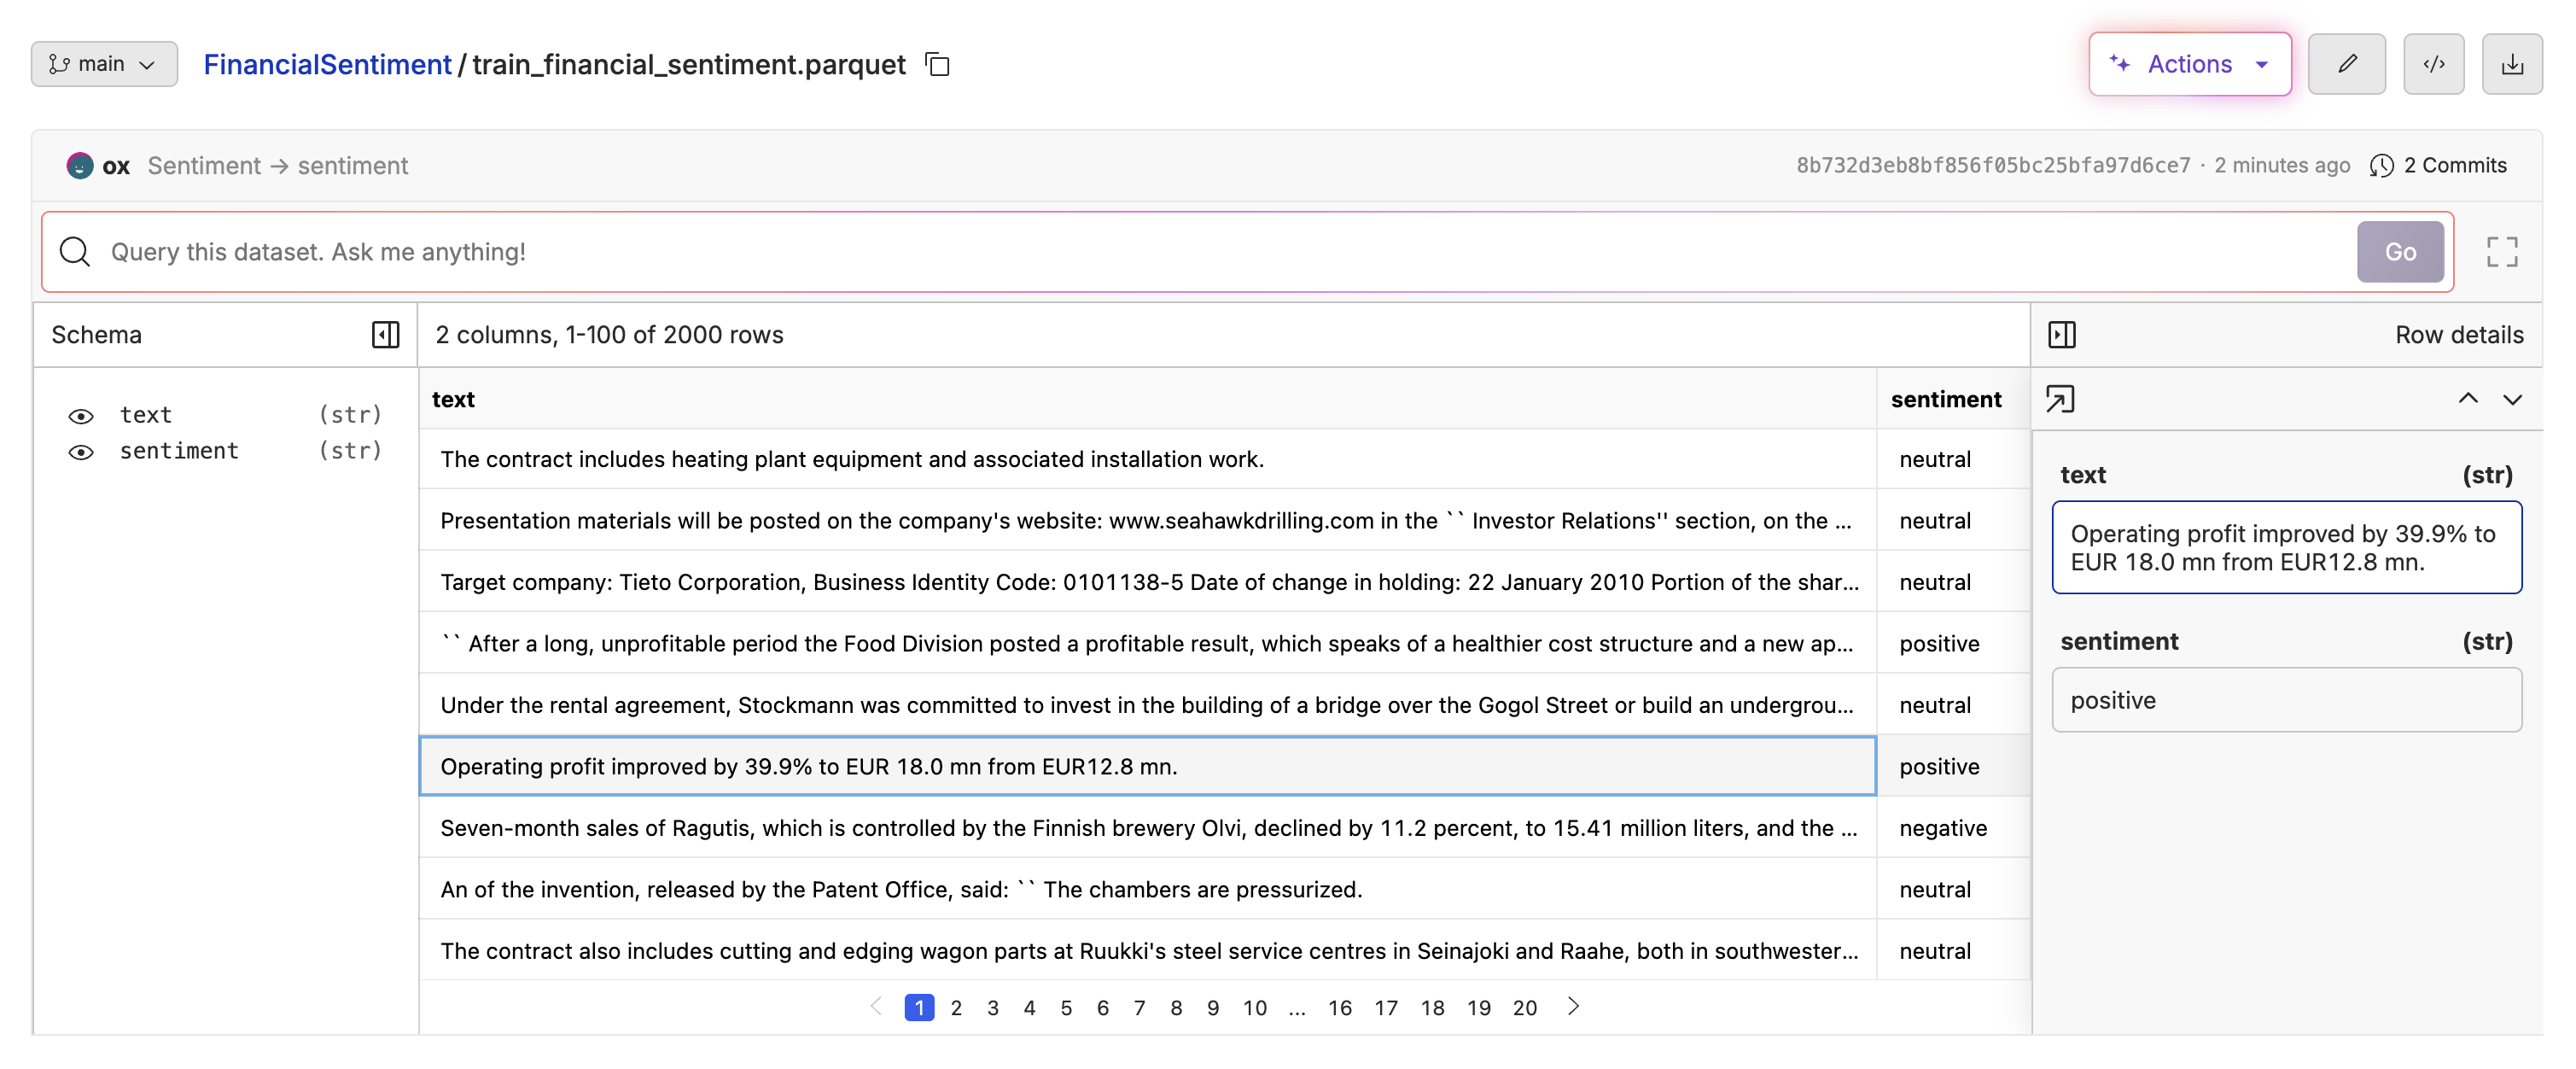
For this example, we are teaching the model to classify financial sentiment from text. You can follow along with the [Tutorials/FinancialSentiment](https://www.oxen.ai/Tutorials/FinancialSentiment/file/main/train_financial_sentiment.parquet) dataset containing 2000 rows of text and their corresponding sentiment labels. The dataset has one column for the prompt and one for the sentiment label (positive, negative, or neutral).
Oxen supports datasets in a variety of formats, including jsonl, csv, and parquet.
 ## Fine-Tuning The Model
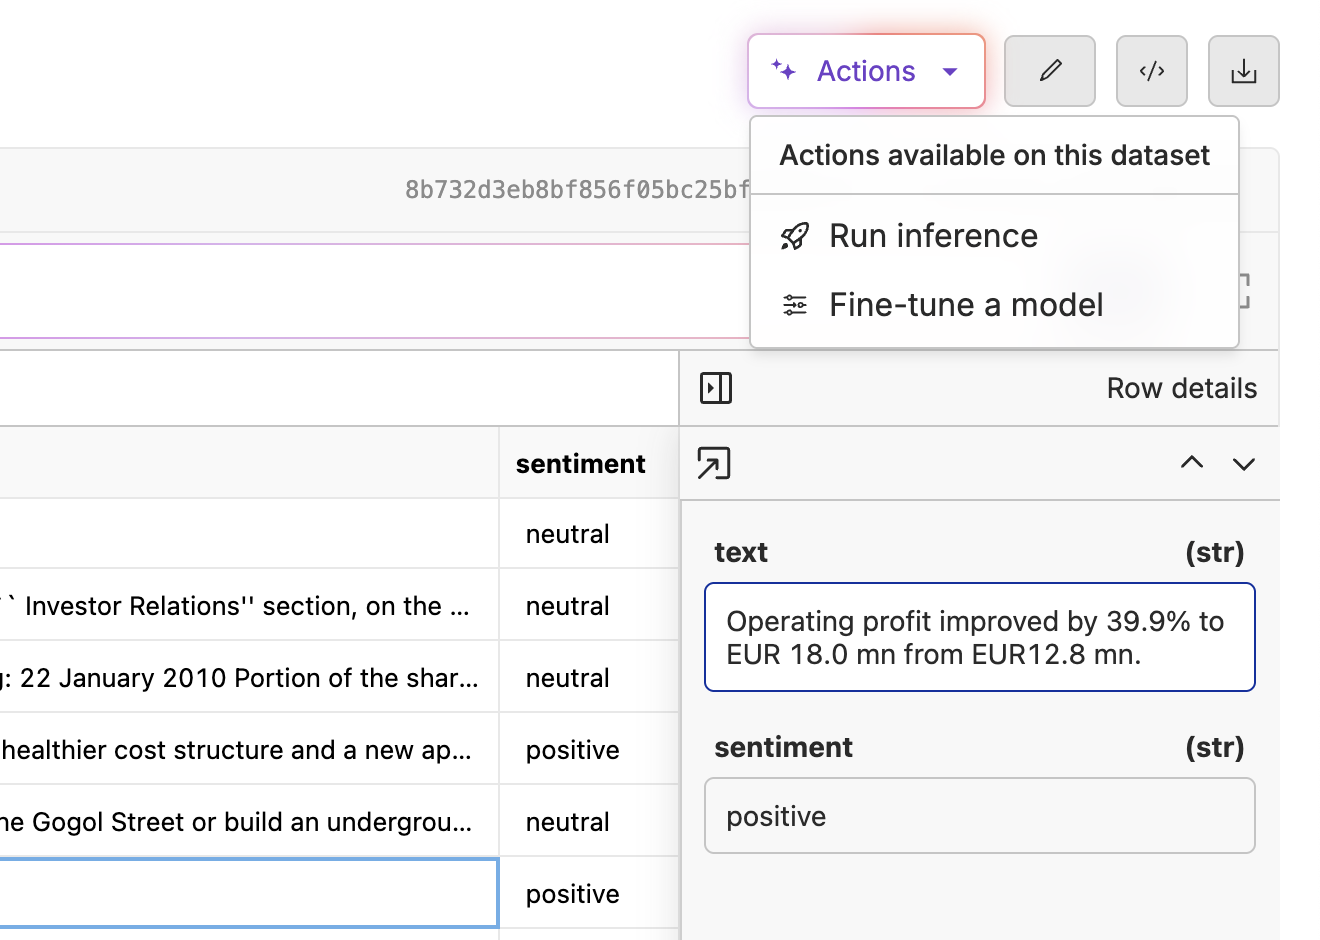
Once you have uploaded your dataset, click the "Actions" button and select "Fine-tune a model".
## Fine-Tuning The Model
Once you have uploaded your dataset, click the "Actions" button and select "Fine-tune a model".
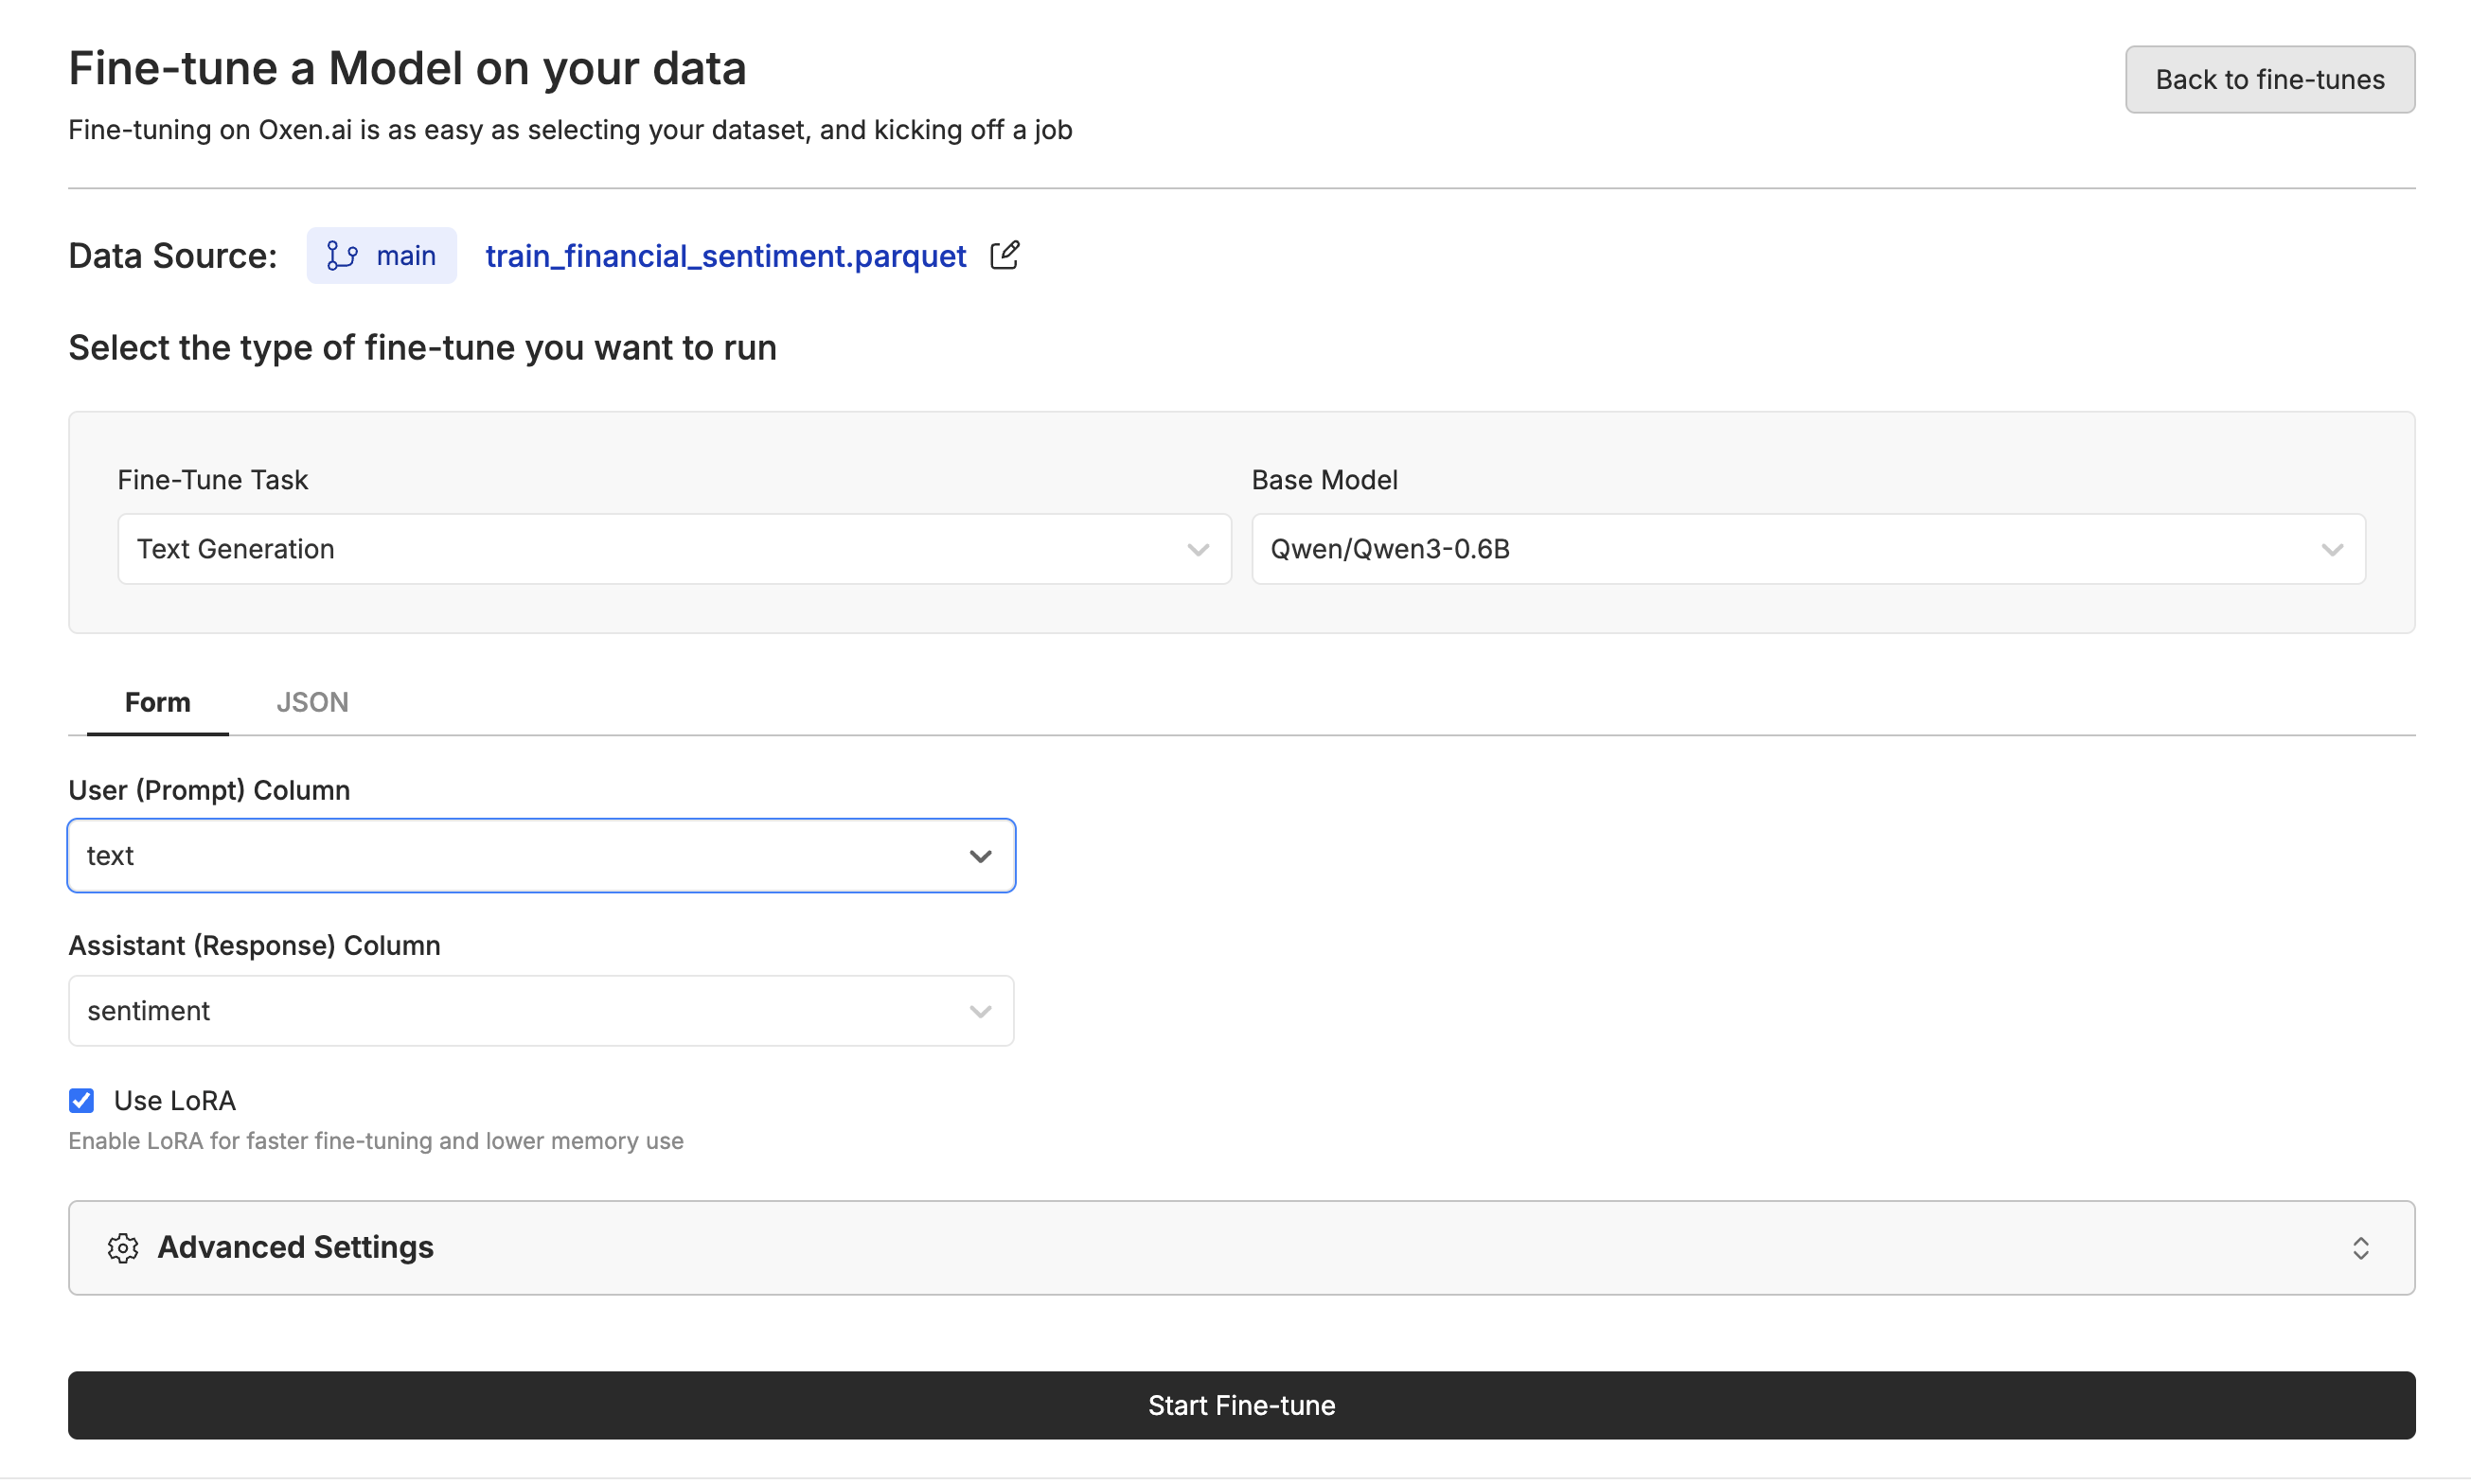
 Next select your base model, the prompt source, the response source, whether you'd like to use LoRA or not, and if you want advanced control over the fine-tune. For this example, we are using the [Qwen3-0.6B](https://www.oxen.ai/ai/models/qwen-qwen3-0-6b) model, which is small and fast to fine-tune.
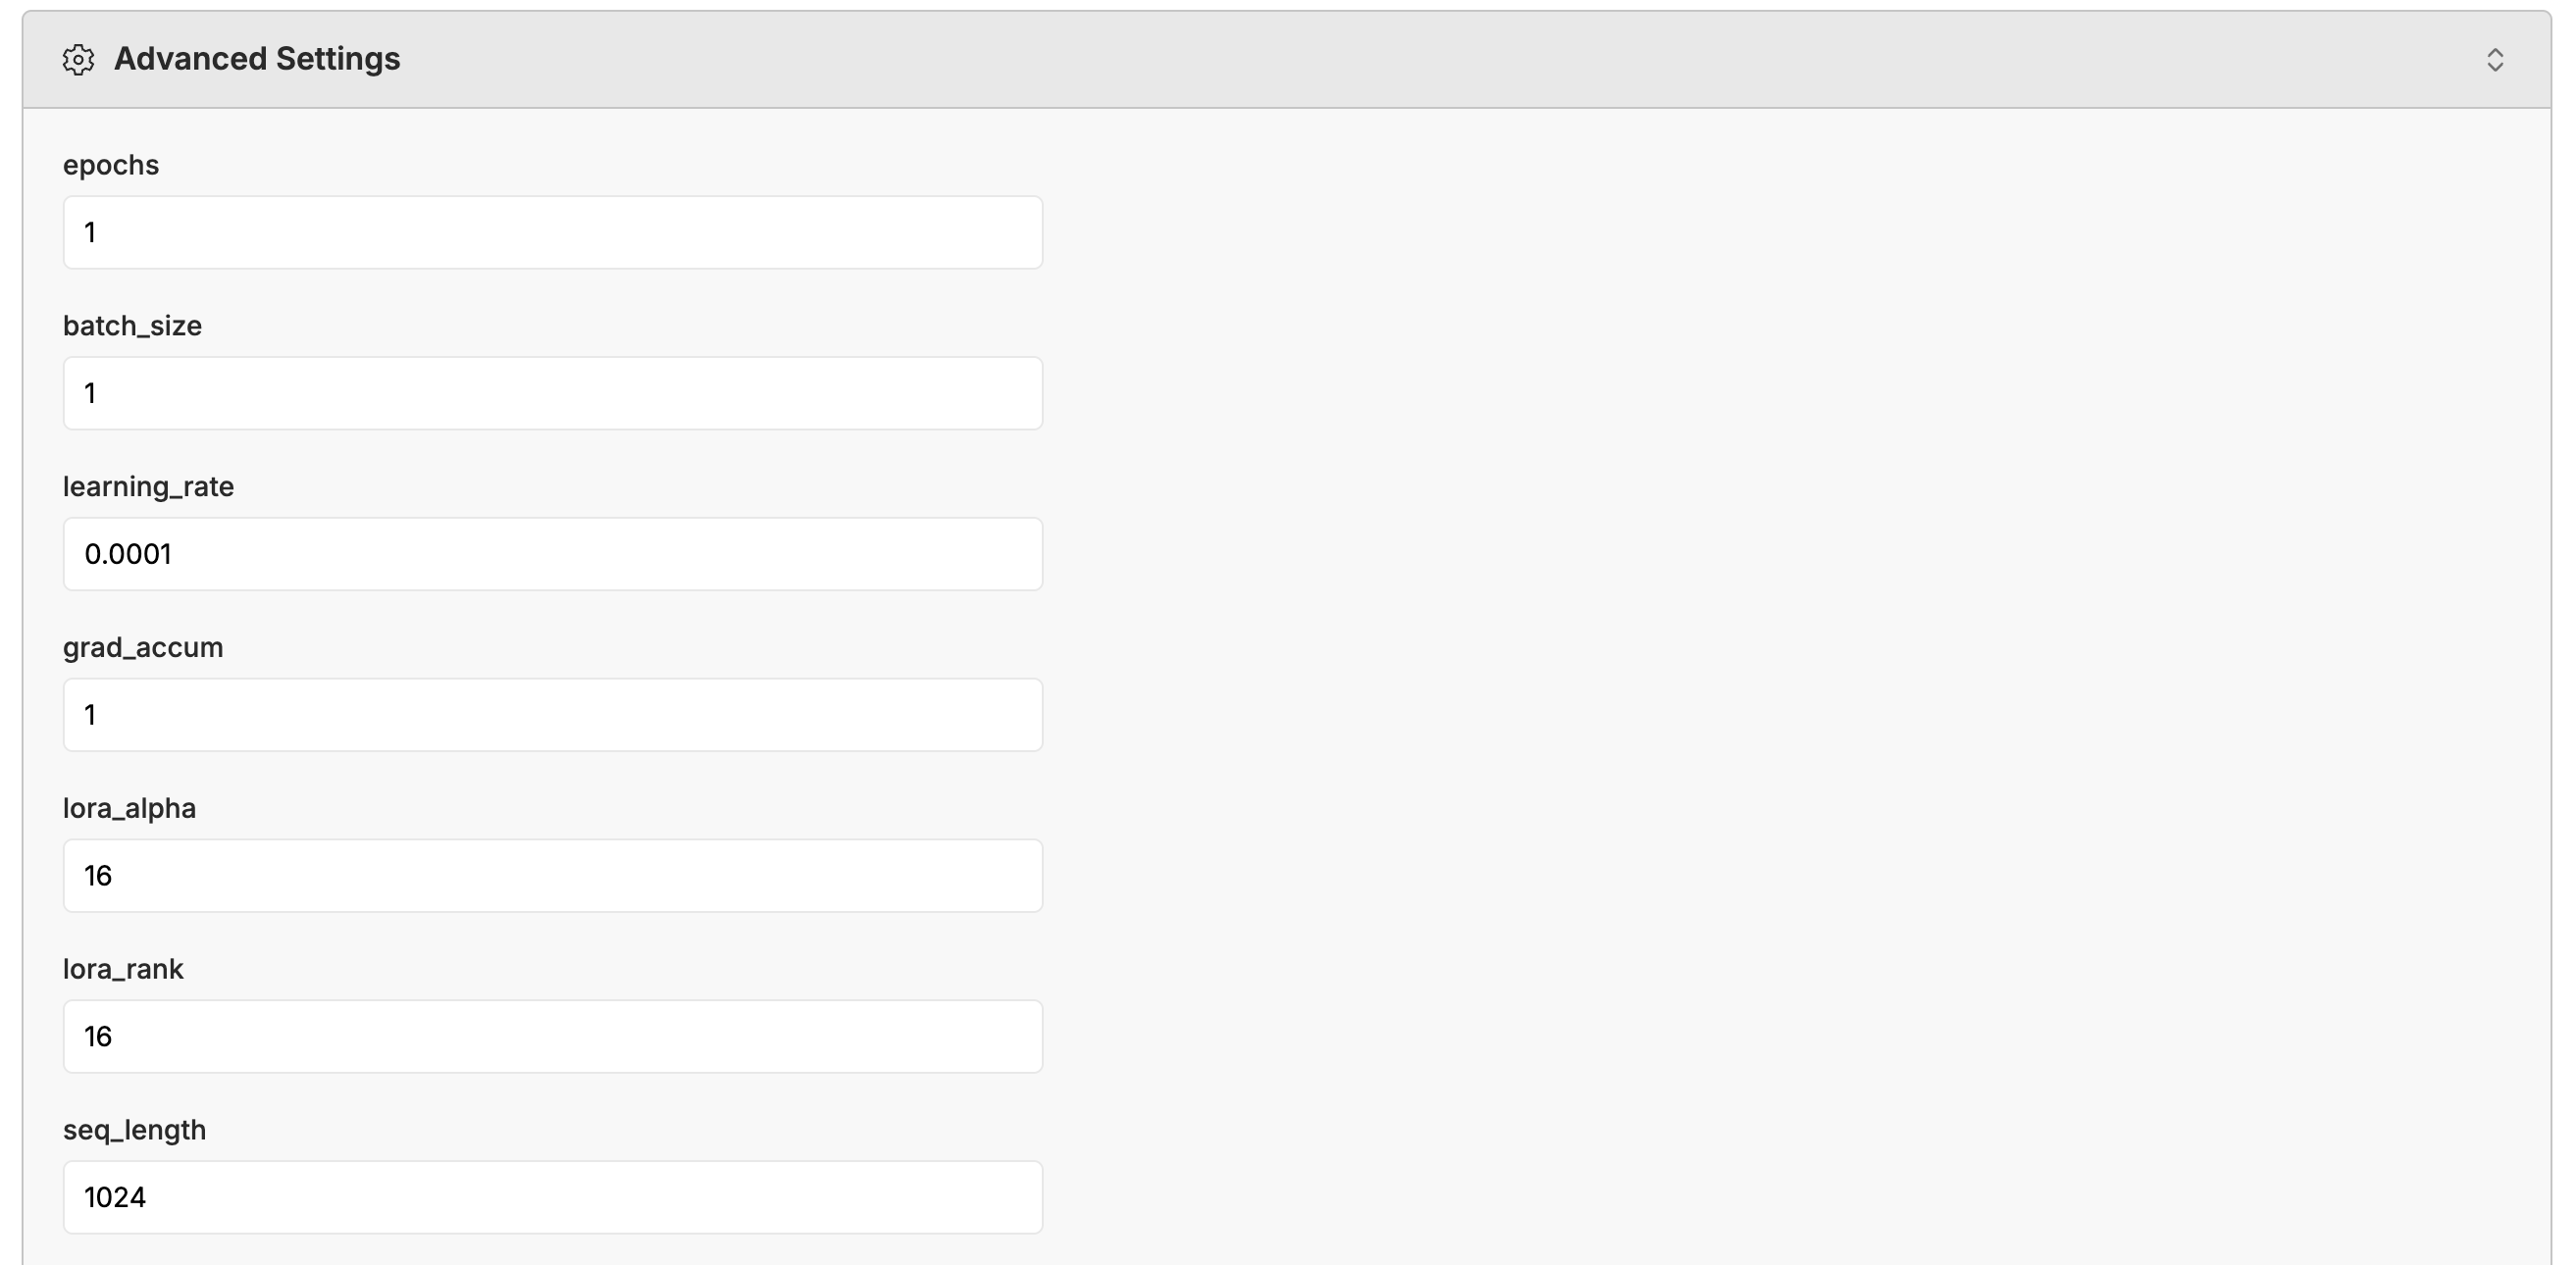
 For our Advance Options, you can have control over hyper-parameters and model specifications like learning rate, batch size, and number of epochs.
 ## Monitoring the Fine-Tune
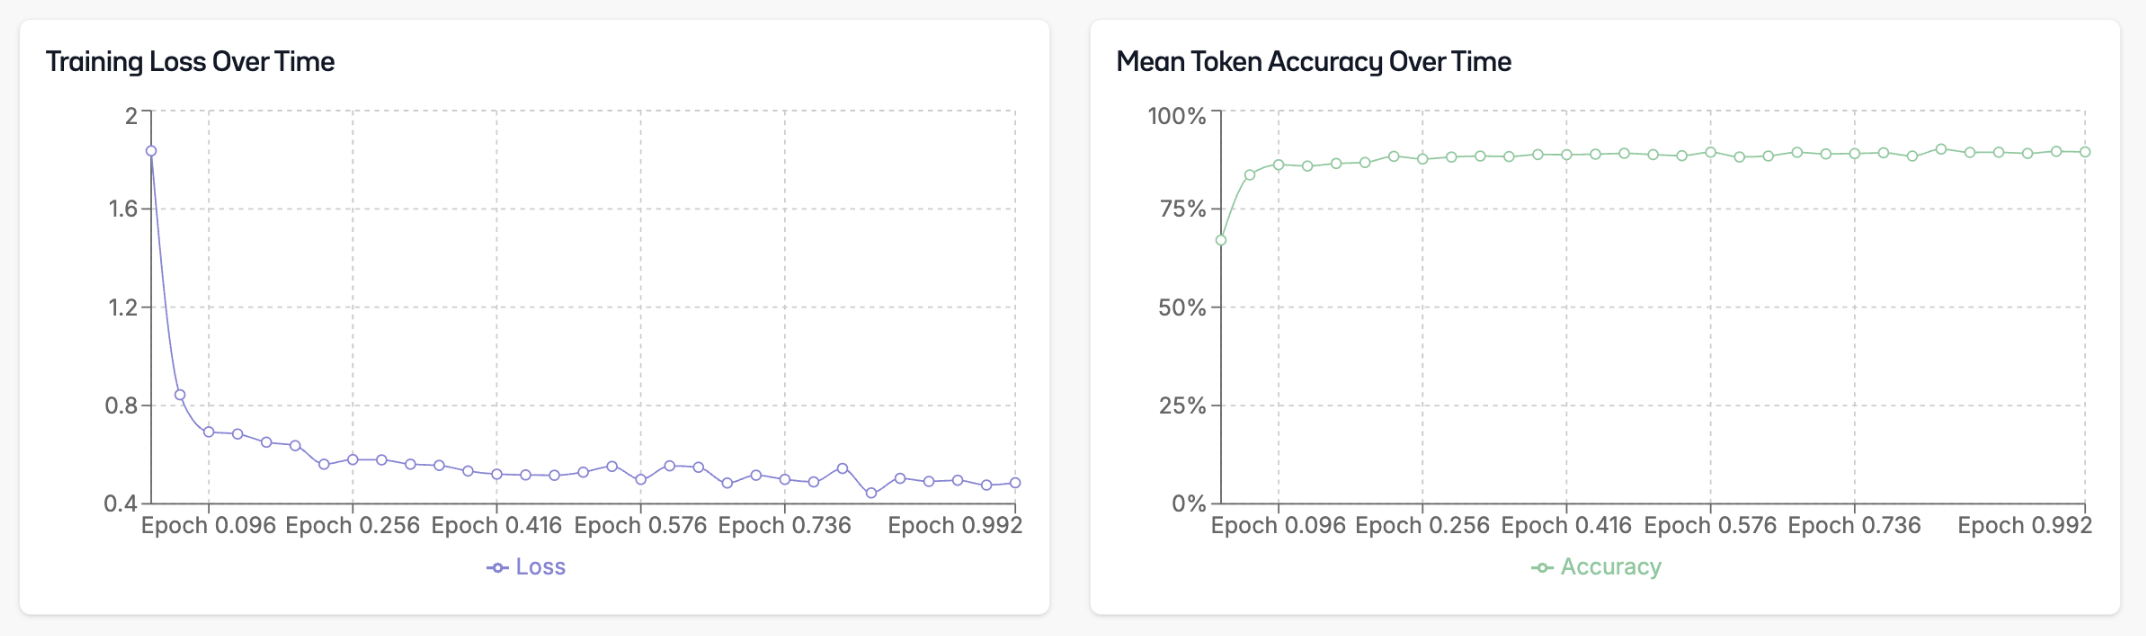
While we're fine-tuning your model, you'll be able to see the configuration, logs, and metrics of the fine-tuning.
## Monitoring the Fine-Tune
While we're fine-tuning your model, you'll be able to see the configuration, logs, and metrics of the fine-tuning.
 ## Deploying the Model
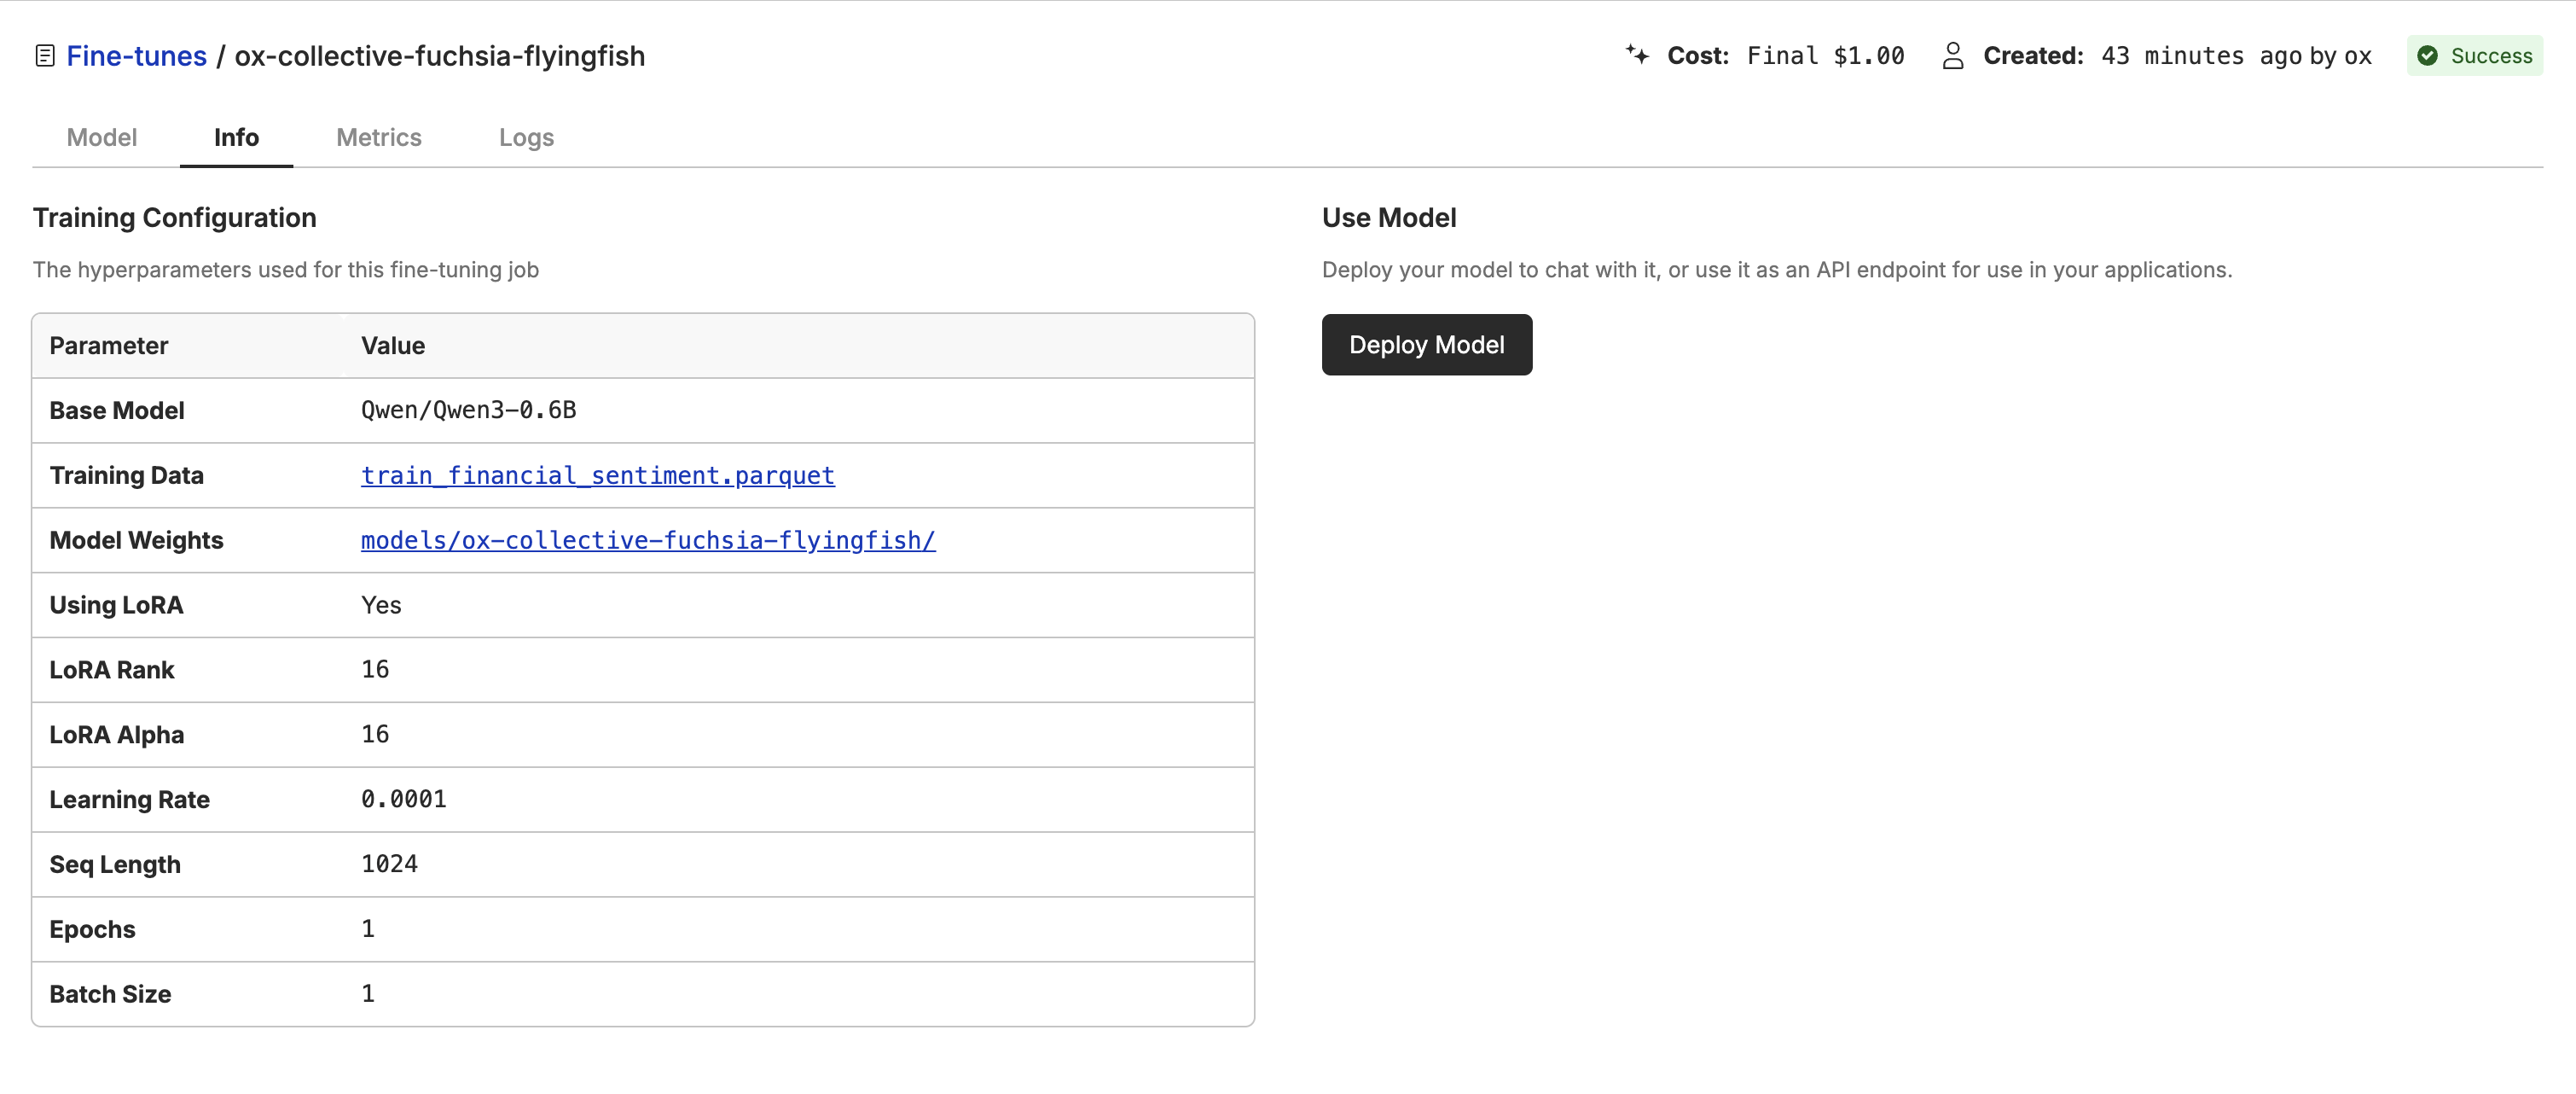
Once your fine-tuning is complete, go to the info page and click "Deploy". Oxen.ai will spin up a dedicated endpoint for your model to access via a chat interface or through the API.
## Deploying the Model
Once your fine-tuning is complete, go to the info page and click "Deploy". Oxen.ai will spin up a dedicated endpoint for your model to access via a chat interface or through the API.
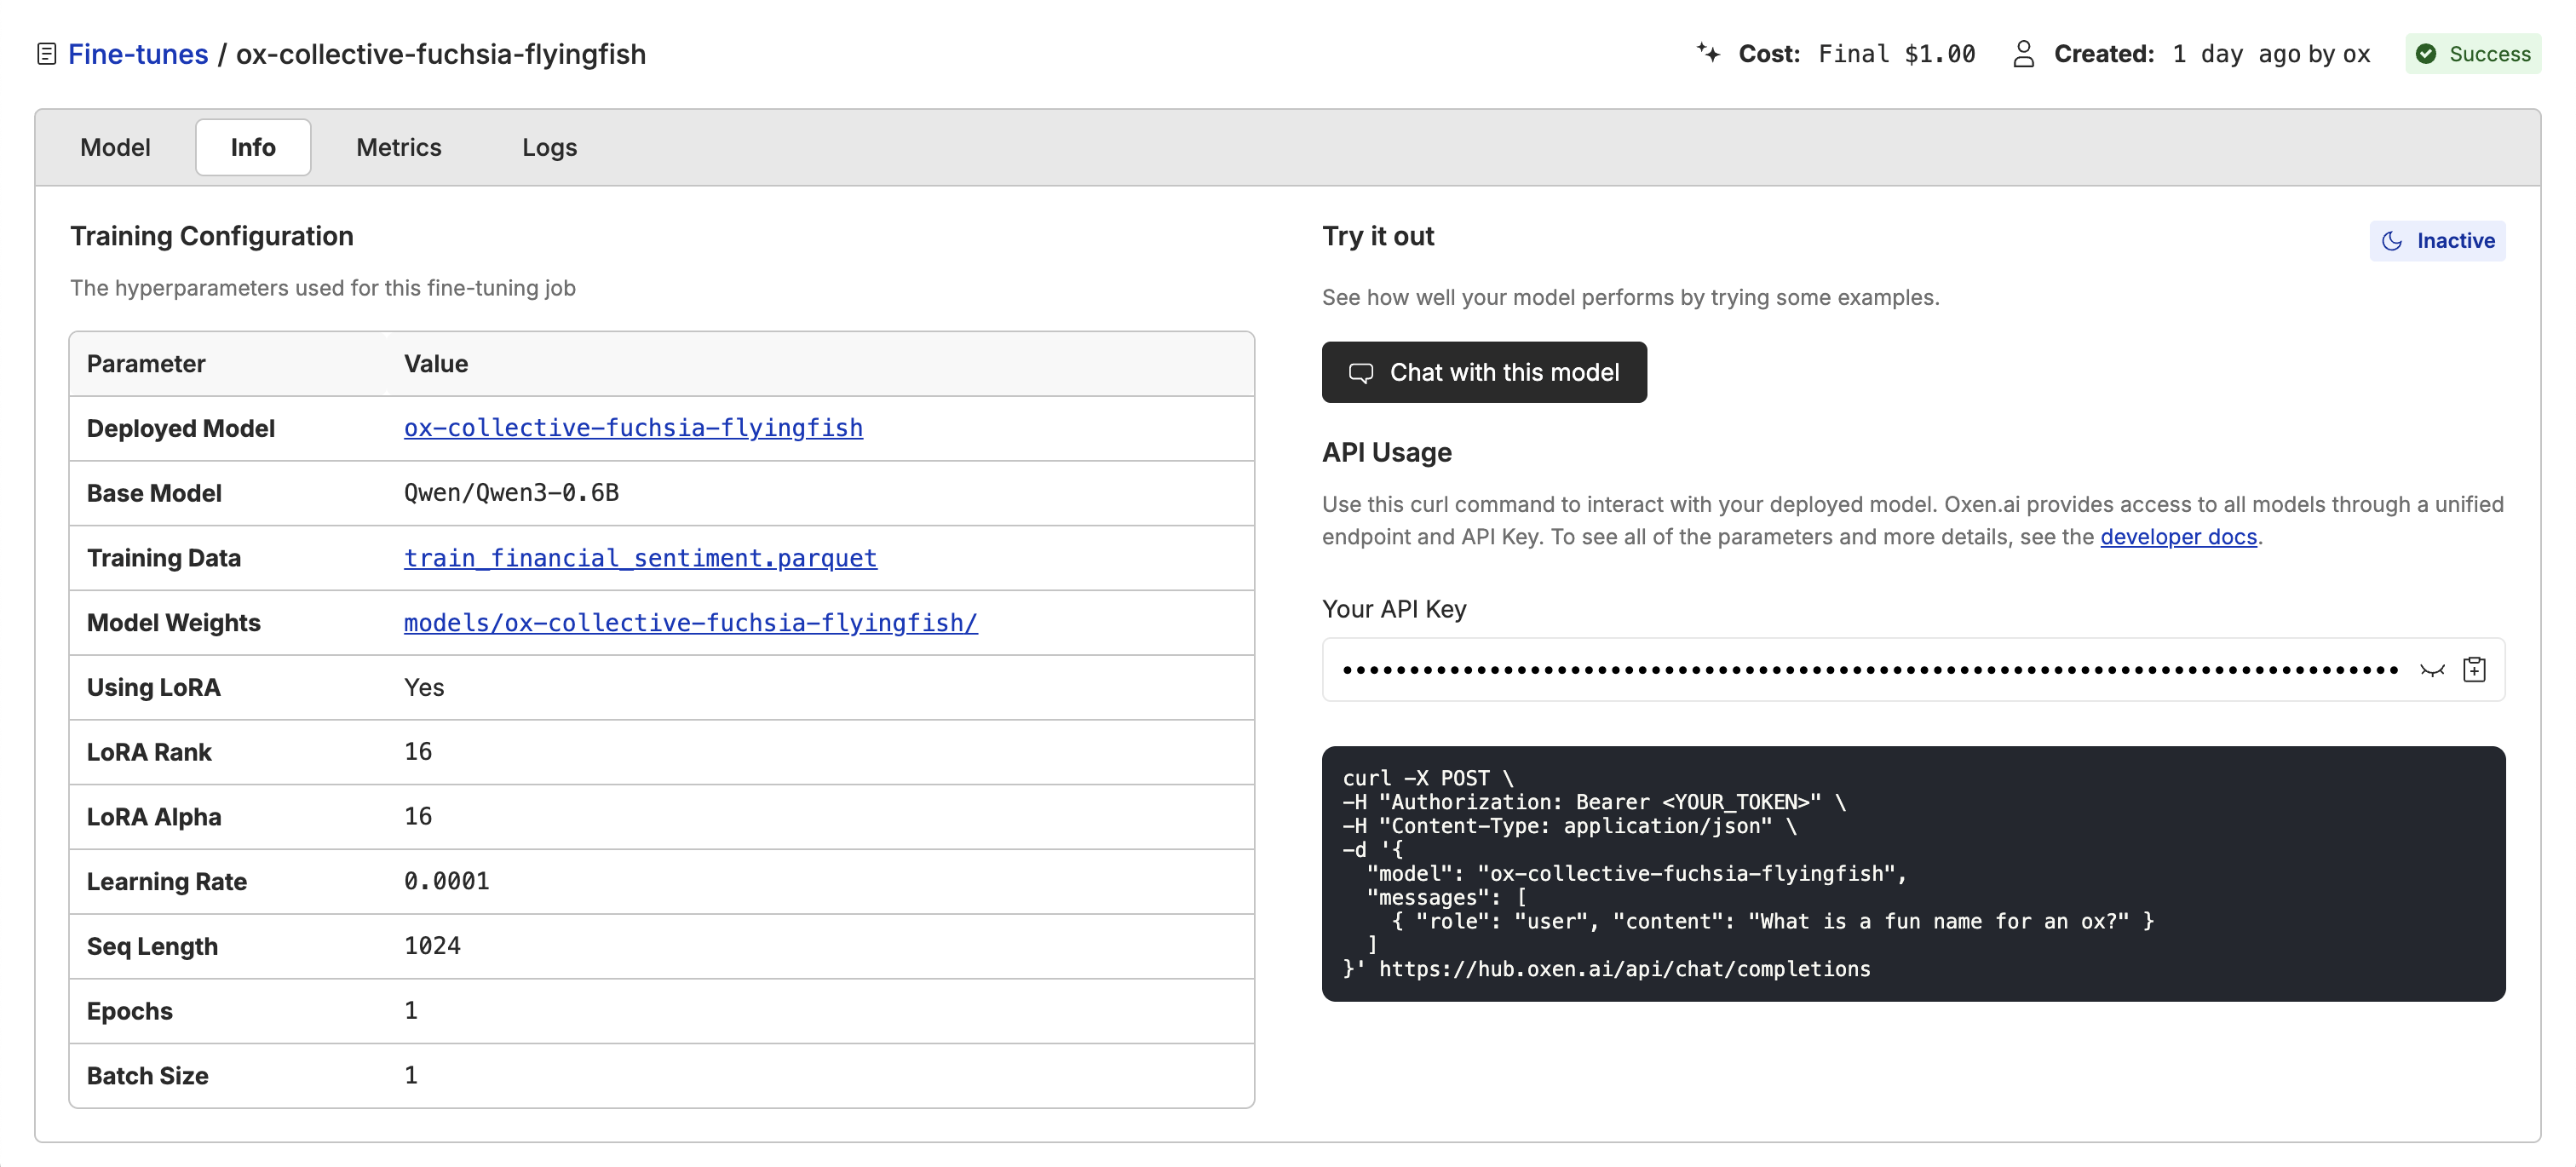
 After the model is deployed, you can click the "Chat with this model" button to open a chat interface.
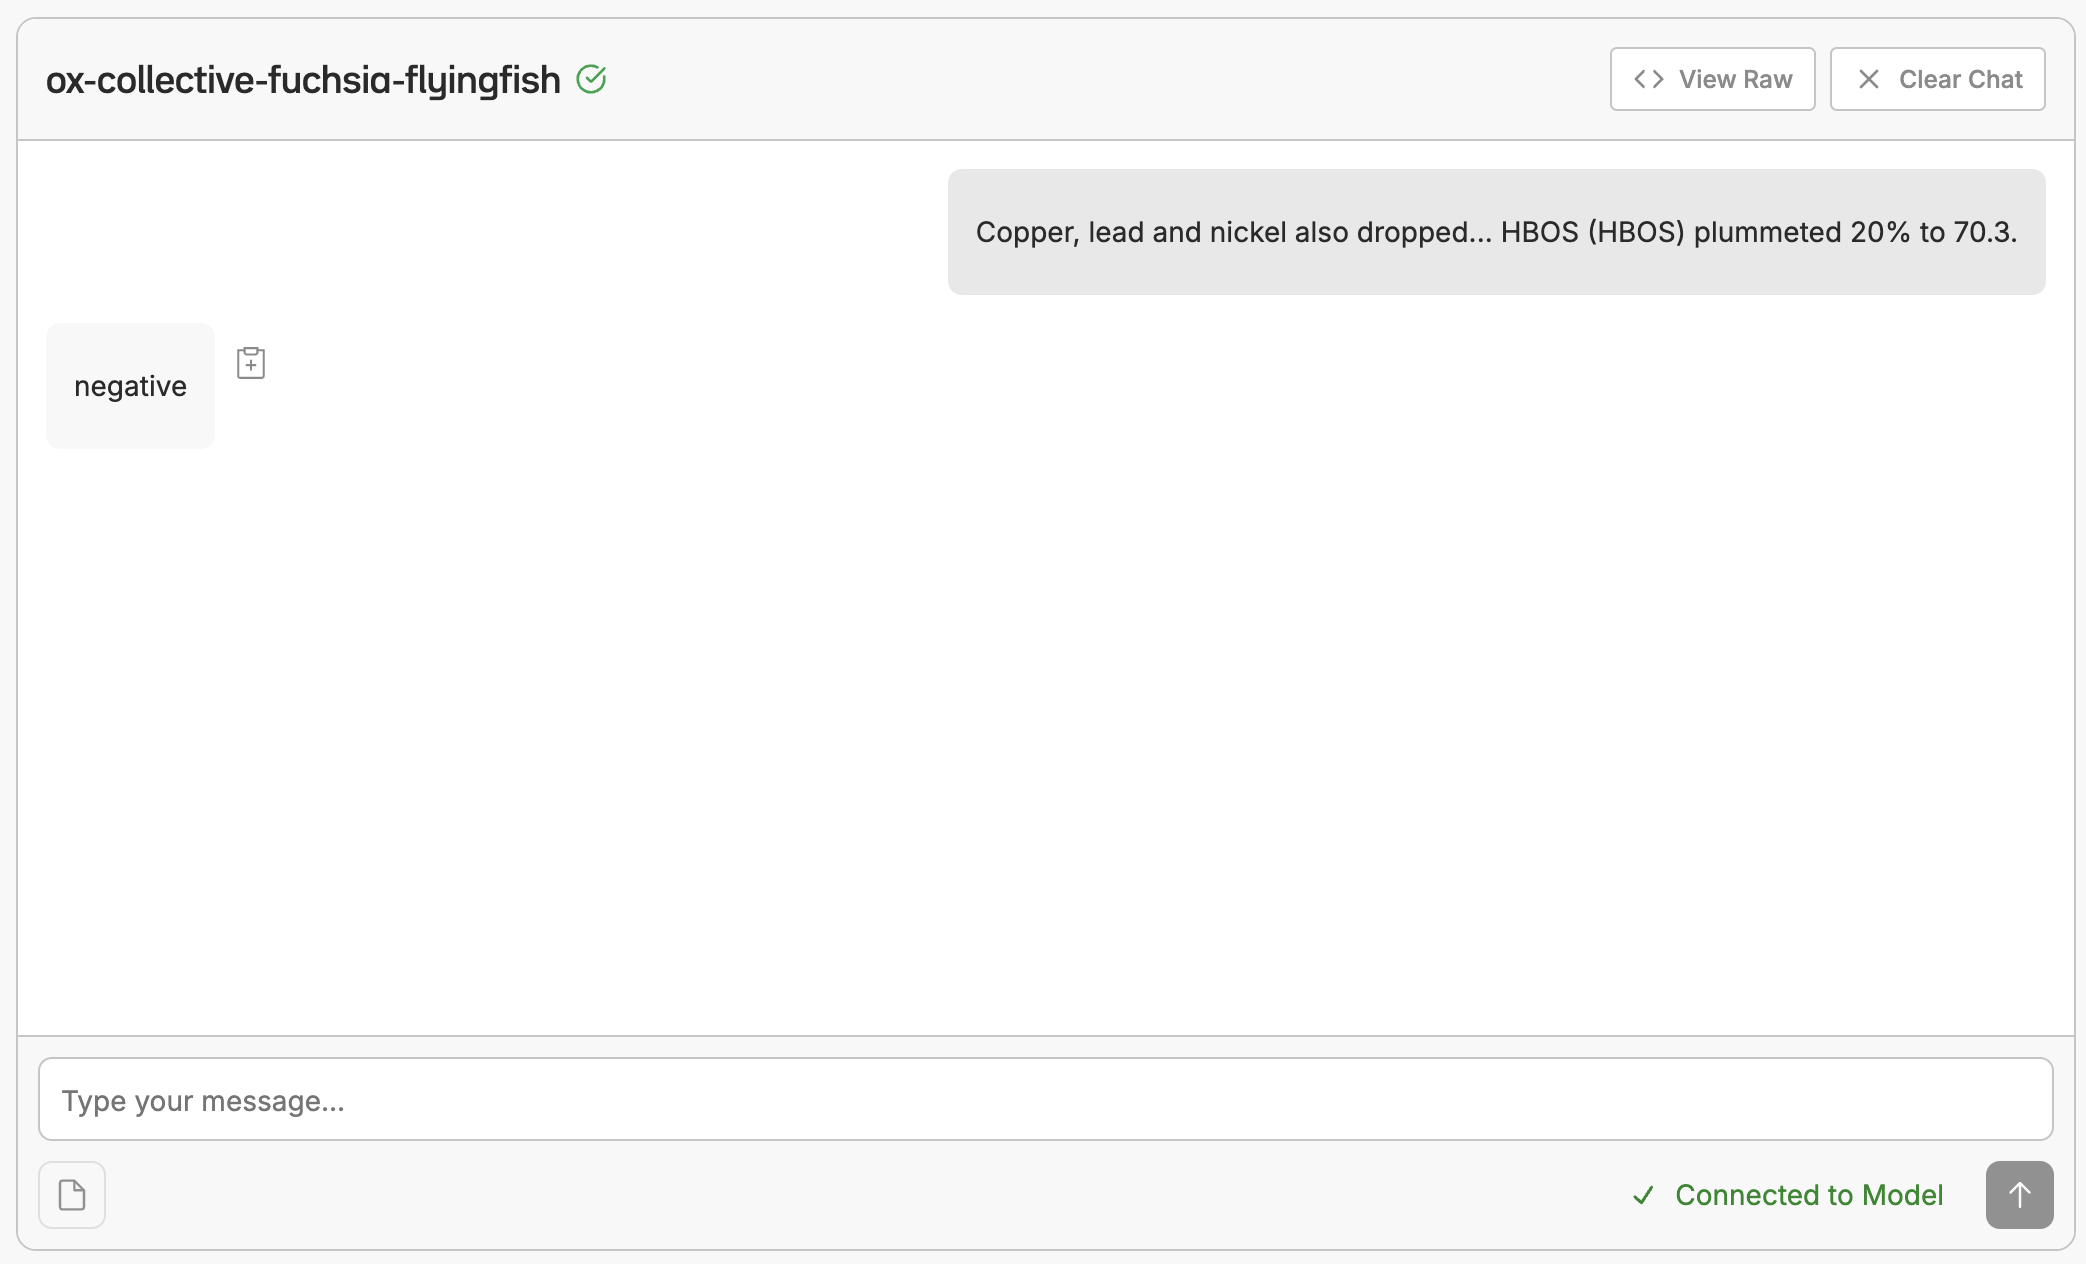
 This will bring up a chat interface where you can test your model to see how it performs.
 ## Model API
You can integrate it into your application using the API. The API is OpenAI compatible, so you can use any OpenAI client library to interact with it. The base URL for the API is `https://hub.oxen.ai/api/ai`.
```bash theme={null}
curl -X POST https://hub.oxen.ai/api/ai/chat/completions \
-H "Authorization: Bearer $API_KEY" \
-H "Content-Type: application/json" \
-d '{
"model": "your-model-id",
"messages": [{"role": "user", "content": "The company went bankrupt last week."}]
}'
```
Make sure to replace `your-model-id` with the ID of your fine-tuned model.
## Next Steps
Feel free to join our [Discord](https://discord.com/invite/s3tBEn7Ptg) and ask us or the community any questions you have, we have a community of developers and machine learning experts who are happy to help you out.
## Model API
You can integrate it into your application using the API. The API is OpenAI compatible, so you can use any OpenAI client library to interact with it. The base URL for the API is `https://hub.oxen.ai/api/ai`.
```bash theme={null}
curl -X POST https://hub.oxen.ai/api/ai/chat/completions \
-H "Authorization: Bearer $API_KEY" \
-H "Content-Type: application/json" \
-d '{
"model": "your-model-id",
"messages": [{"role": "user", "content": "The company went bankrupt last week."}]
}'
```
Make sure to replace `your-model-id` with the ID of your fine-tuned model.
## Next Steps
Feel free to join our [Discord](https://discord.com/invite/s3tBEn7Ptg) and ask us or the community any questions you have, we have a community of developers and machine learning experts who are happy to help you out.