> ## Documentation Index
> Fetch the complete documentation index at: https://docs.oxen.ai/llms.txt
> Use this file to discover all available pages before exploring further.
# 📡 Oxen Server
> `oxen-server` is the storage backend for Oxen. It is where the merkle tree, commit history, and other metadata is stored.
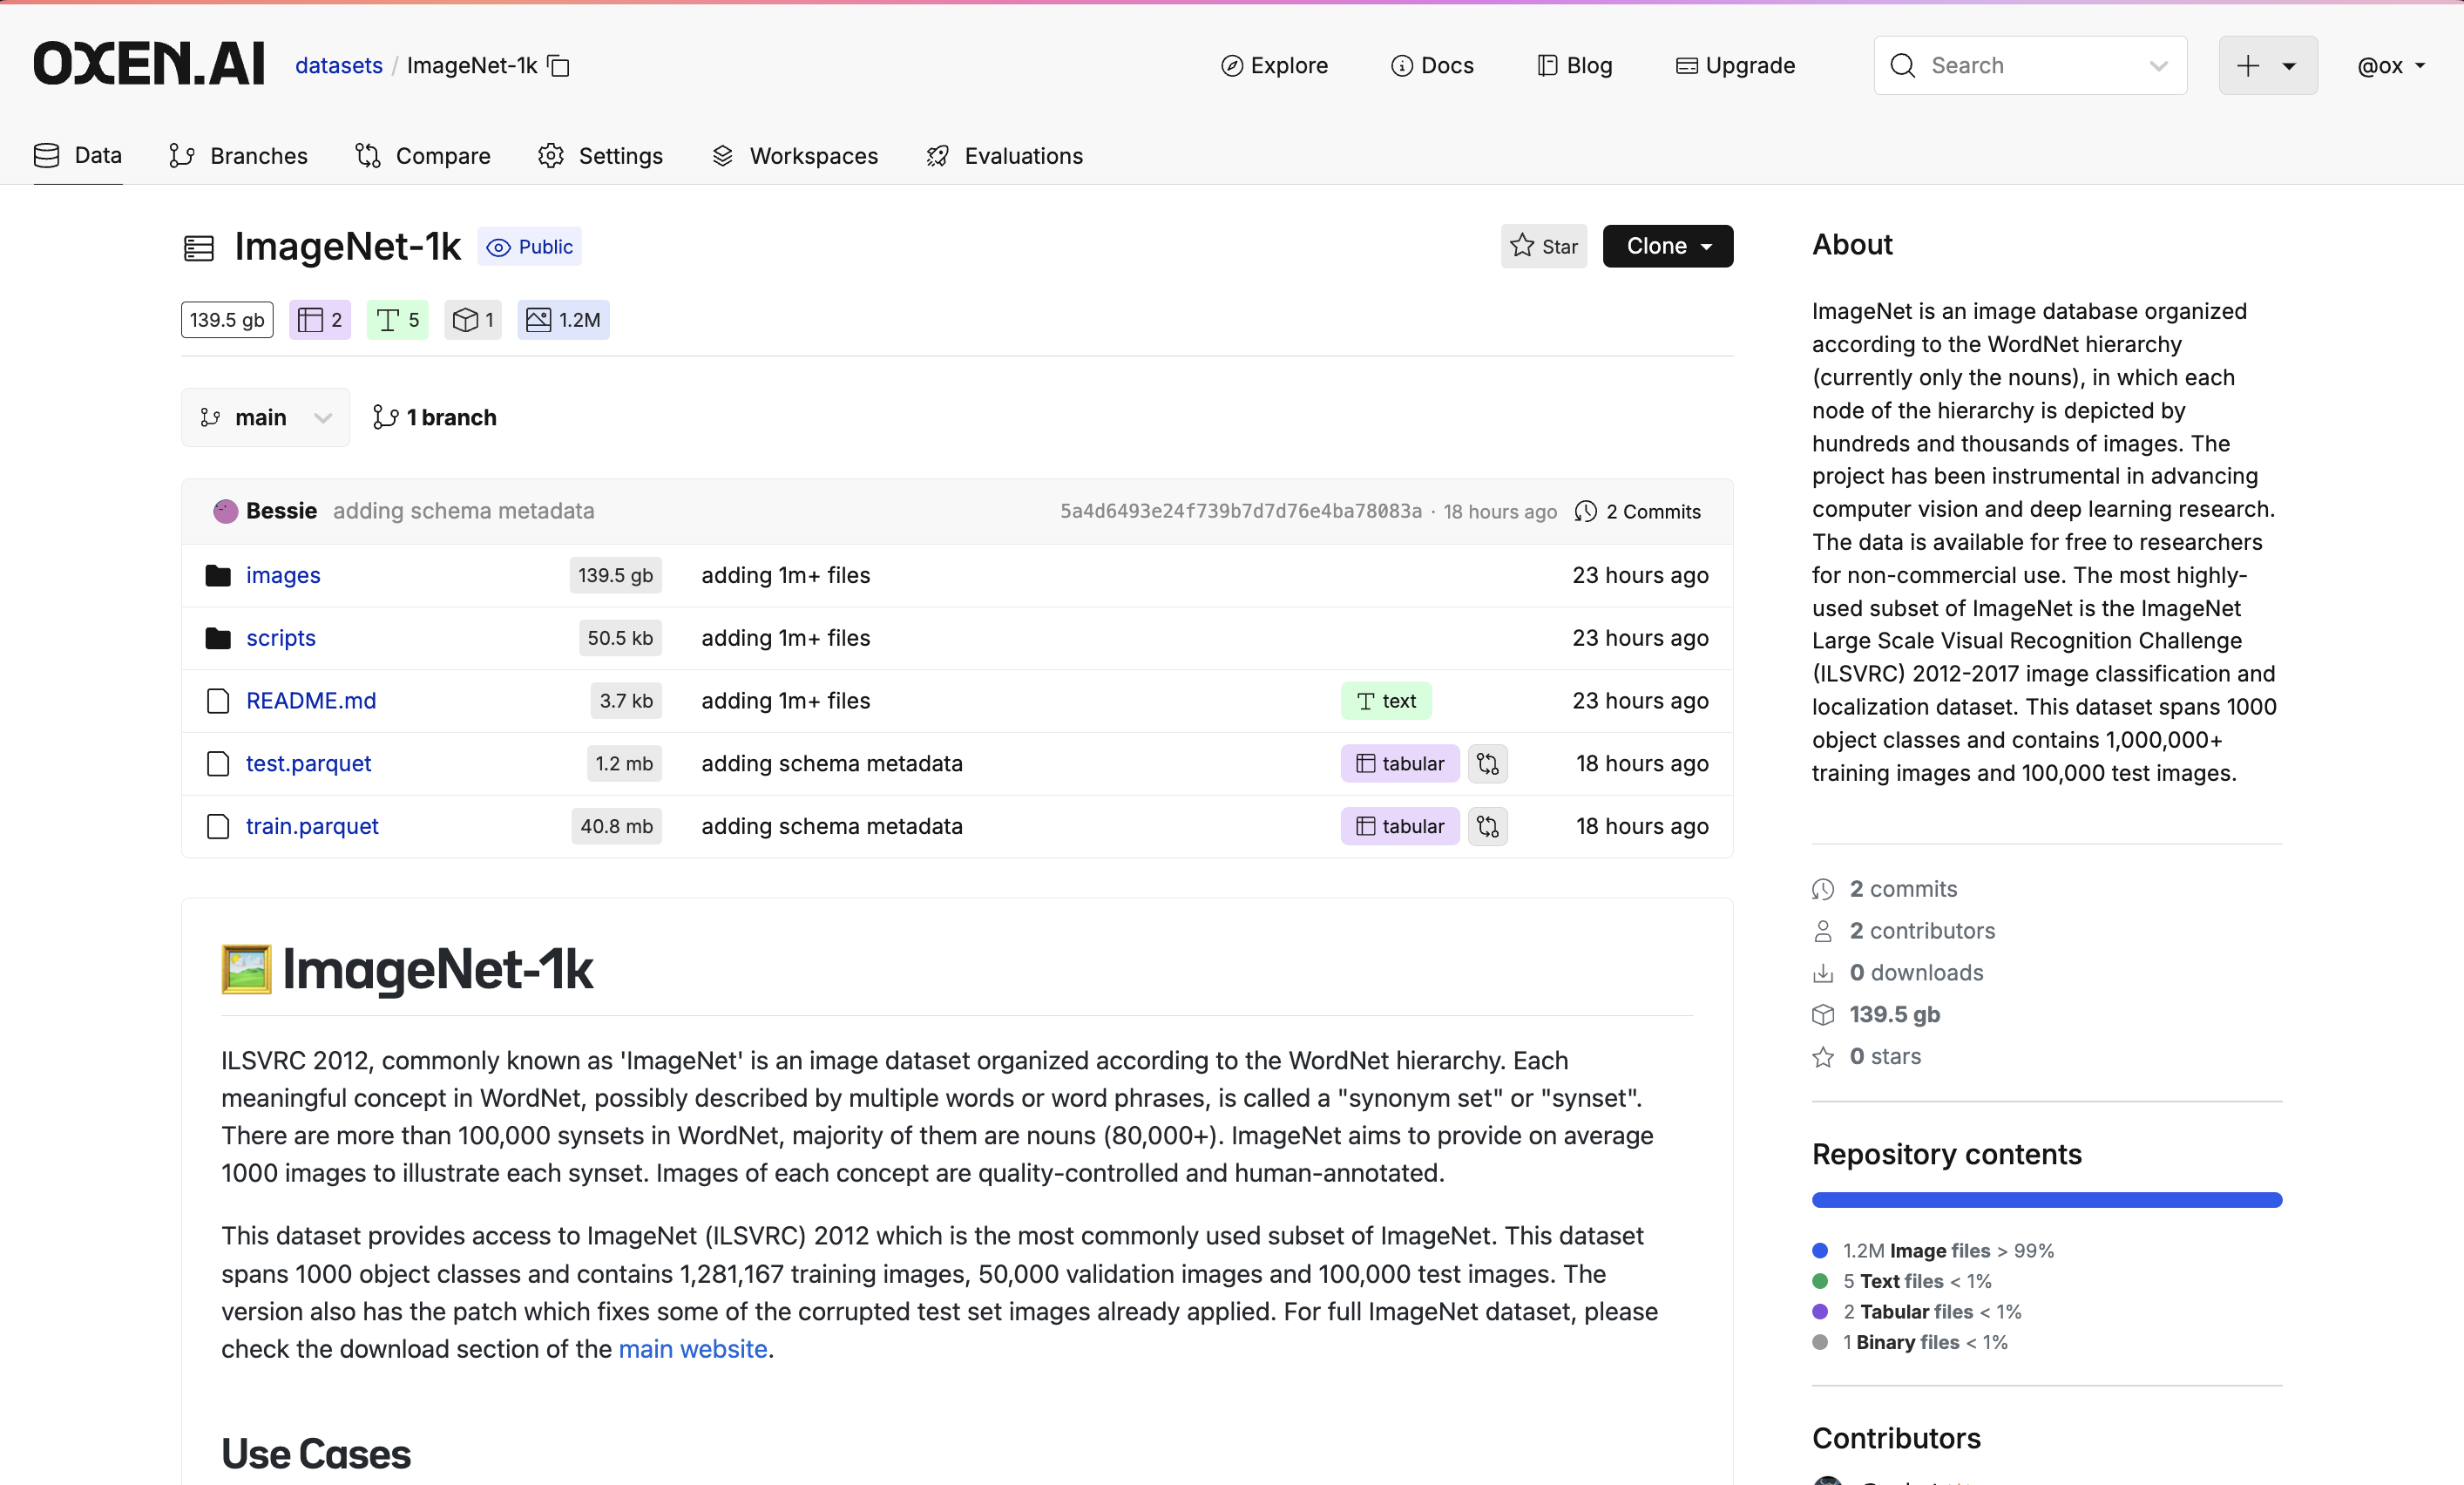
You can deploy your own `oxen-server` instance on your own infrastructure, or use the hosted version on [OxenHub](https://oxen.ai). If you want to kick the tires of Oxen in the privacy of your own infrastructure, we recommend you setup a local server.
```bash theme={null}
oxen-server start -p 3000 -i 0.0.0.0
```
The hosted solution comes with a [UI](https://oxen.ai) and the benefits of not having to setup infrastructure yourself. [Sign up here](https://oxen.ai/register) to get started.
 ## ⚙️ Install
To setup a local Oxen Server instance, first install the `oxen-server` binary.
### Mac OS
On Mac-OS you can use [Homebrew](https://brew.sh/) to install the binary.
```bash theme={null}
brew tap Oxen-AI/oxen-server
brew install oxen-server
```
### Ubuntu
On Ubuntu you can download the latest .deb file from our [GitHub Releases](https://github.com/Oxen-AI/Oxen/releases) and install it.
```bash theme={null}
wget https://github.com/Oxen-AI/Oxen/releases/latest/download/oxen-server-ubuntu-latest.deb
sudo dpkg -i oxen-server-ubuntu-latest.deb
```
### Docker
To run the server in a docker container, download the latest .tar file from our [GitHub Releases](https://github.com/Oxen-AI/Oxen/releases) and run the following commands.
```bash theme={null}
wget https://github.com/Oxen-AI/Oxen/releases/latest/download/oxen-server-docker.tar
docker load < oxen-server-docker.tar
docker run -d -v /path/to/my/data:/var/oxen/data -p 80:3001 oxen/oxen-server:latest
```
To install on other platforms, follow the [installation instructions](/getting-started/install).
## 🏎️ Start Server
The server can be run with access token authentication turned on or off. The server runs with no authentication by default.
```bash theme={null}
oxen-server start
```
To enable authentication, generate a token to give it to the user to access to the server
```bash theme={null}
oxen-server add-user --email YOUR_EMAIL --name YOUR_NAME
```
Output:
```
User access token created:
XXXXXXXX
To give user access have them run the command `oxen config --auth `
```
You may have different authentication tokens for different hosts. From the client side, you can setup an auth token per host with the `config` command. If you ever need to debug or edit the tokens manually, they are stored in the `~/.config/oxen/auth_config.toml` file.
```bash theme={null}
oxen config --auth
cat ~/.config/oxen/auth_config.toml
```
To run the server with authentication, use the `-a` flag
```bash theme={null}
oxen-server start -a
```
## 🗂️ Sync Directory
The default directory that Oxen stores data is `/tmp/oxen_sync`, which is not a good idea for production. To change it set the `SYNC_DIR` environment variable to a path.
```bash theme={null}
export SYNC_DIR=/var/oxen/data
oxen-server start -a
```
Output:
```
Running 🐂 server on 0.0.0.0:3000
Syncing to directory: /var/oxen/data
[2022-06-08T10:00:48Z INFO actix_server::builder] Starting 8 workers
[2022-06-08T10:00:48Z INFO actix_server::server] Actix runtime found; starting in Actix runtime
```
If you want to change the default `IP ADDRESS` and `PORT` you can do so by passing them in with the `-i` and `-p` parameters.
```bash theme={null}
oxen-server start -i 0.0.0.0 -p 4321
```
## 🐞 Debug Logs
The oxen server provides debug logs, which are off by default. You can turn these on with the RUST\_LOG variable.
```bash theme={null}
export RUST_LOG="debug"
```
You can also set RUST\_LOG to `info` or `warn` for more restrictive debug logs. Be aware, turning on debug logs can significantly slow down some metadata-heavy operations like `oxen commit`
## 📁 Create a Repository
Assuming you have already installed the `oxen` CLI, you can create a remote repository on the server.
```bash theme={null}
oxen create-remote --name my_namespace/repo_name --host localhost:3000 --scheme http
```
Note: The host and scheme are optional and default to `hub.oxen.ai` and `https` respectively. If you are running a local server, you can set the host to `localhost:3000` and the scheme to `http`.
You can either clone data from this remote repository, or push data to it.
## 🗄️ File Storage
When you create a remote repository, Oxen will create a directory for it on the server. The directory structure is `$SYNC_DIR///.oxen`.
```bash theme={null}
ls /var/oxen/data/my_namespace/repo_name/.oxen
```
Output:
```
config.toml
history/
refs/
tree/
versions/
```
All of the metadata and versioned files for a repository are stored in the `.oxen` directory. This directory mirrors the `.oxen` directory in your local repository, so that logic can be reused between the client and server.
## 💾 Configureable Storage Backend
Oxen allows you to configure the storage backend of self-hosted oxen servers. By default, a repository's version files are stored in the `.oxen/versions/files` folder, but this can be changed by using the `--storage-backend` and `--storage-backend-path` parameters
```bash theme={null}
oxen create-remote --name ox/test_repo --host localhost:3000 --scheme http --storage-backend local --storage-backend-path ~/mountpoint/ox/test_repo/version/files
```
This is useful if you have a large amount of data and you want to store it on a virtual file system. If you set `--storage-backend-path` to a location on your VFS, files that you push to the remote will be stored there. Depending on your VFS, this can slow down some upload and download operations.
## ⬆️ Upload Data
To upload data to the server, you can use the `oxen` CLI to initialize a local repository, add data to it, and push it to the server.
```bash theme={null}
# Create a directory for the new dataset
mkdir my-dataset
cd my-dataset
# Initialize a local repository
oxen init
# Add data to the repository
echo "prompt,response" > data.csv
oxen add data.csv
# Commit the changes
oxen commit -m "Initial commit"
```
If you look in your local repository, you will see the `.oxen` directory.
```bash theme={null}
ls .oxen
```
Output:
```
config.toml
history/
refs/
tree/
versions/
```
You can set the remote to the server by running the following command. This will update the `config.toml` file in your local repository.
```bash theme={null}
oxen config --set-remote origin http://localhost:3000/my_namespace/repo_name
```
If you look at the `config.toml` file, you will see the remote set.
```bash theme={null}
cat .oxen/config.toml
```
Output:
```toml theme={null}
remote_name = "origin"
[[remotes]]
name = "origin"
url = "http://localhost:3000/my_namespace/repo_name"
```
Once a remote is set you can push your changes to the server.
```bash theme={null}
oxen push origin main
```
You can change the remote (origin) and the branch (main) to whichever remote and branch you want to push.
## ⬇️ Clone Data
Clone the empty repository:
```bash theme={null}
oxen clone http:///my_namespace/repo_name
```
## API Spec
The server has a REST API that can be used to interact with the server. The API is documented [here](/http-api).
## ⚙️ Install
To setup a local Oxen Server instance, first install the `oxen-server` binary.
### Mac OS
On Mac-OS you can use [Homebrew](https://brew.sh/) to install the binary.
```bash theme={null}
brew tap Oxen-AI/oxen-server
brew install oxen-server
```
### Ubuntu
On Ubuntu you can download the latest .deb file from our [GitHub Releases](https://github.com/Oxen-AI/Oxen/releases) and install it.
```bash theme={null}
wget https://github.com/Oxen-AI/Oxen/releases/latest/download/oxen-server-ubuntu-latest.deb
sudo dpkg -i oxen-server-ubuntu-latest.deb
```
### Docker
To run the server in a docker container, download the latest .tar file from our [GitHub Releases](https://github.com/Oxen-AI/Oxen/releases) and run the following commands.
```bash theme={null}
wget https://github.com/Oxen-AI/Oxen/releases/latest/download/oxen-server-docker.tar
docker load < oxen-server-docker.tar
docker run -d -v /path/to/my/data:/var/oxen/data -p 80:3001 oxen/oxen-server:latest
```
To install on other platforms, follow the [installation instructions](/getting-started/install).
## 🏎️ Start Server
The server can be run with access token authentication turned on or off. The server runs with no authentication by default.
```bash theme={null}
oxen-server start
```
To enable authentication, generate a token to give it to the user to access to the server
```bash theme={null}
oxen-server add-user --email YOUR_EMAIL --name YOUR_NAME
```
Output:
```
User access token created:
XXXXXXXX
To give user access have them run the command `oxen config --auth `
```
You may have different authentication tokens for different hosts. From the client side, you can setup an auth token per host with the `config` command. If you ever need to debug or edit the tokens manually, they are stored in the `~/.config/oxen/auth_config.toml` file.
```bash theme={null}
oxen config --auth
cat ~/.config/oxen/auth_config.toml
```
To run the server with authentication, use the `-a` flag
```bash theme={null}
oxen-server start -a
```
## 🗂️ Sync Directory
The default directory that Oxen stores data is `/tmp/oxen_sync`, which is not a good idea for production. To change it set the `SYNC_DIR` environment variable to a path.
```bash theme={null}
export SYNC_DIR=/var/oxen/data
oxen-server start -a
```
Output:
```
Running 🐂 server on 0.0.0.0:3000
Syncing to directory: /var/oxen/data
[2022-06-08T10:00:48Z INFO actix_server::builder] Starting 8 workers
[2022-06-08T10:00:48Z INFO actix_server::server] Actix runtime found; starting in Actix runtime
```
If you want to change the default `IP ADDRESS` and `PORT` you can do so by passing them in with the `-i` and `-p` parameters.
```bash theme={null}
oxen-server start -i 0.0.0.0 -p 4321
```
## 🐞 Debug Logs
The oxen server provides debug logs, which are off by default. You can turn these on with the RUST\_LOG variable.
```bash theme={null}
export RUST_LOG="debug"
```
You can also set RUST\_LOG to `info` or `warn` for more restrictive debug logs. Be aware, turning on debug logs can significantly slow down some metadata-heavy operations like `oxen commit`
## 📁 Create a Repository
Assuming you have already installed the `oxen` CLI, you can create a remote repository on the server.
```bash theme={null}
oxen create-remote --name my_namespace/repo_name --host localhost:3000 --scheme http
```
Note: The host and scheme are optional and default to `hub.oxen.ai` and `https` respectively. If you are running a local server, you can set the host to `localhost:3000` and the scheme to `http`.
You can either clone data from this remote repository, or push data to it.
## 🗄️ File Storage
When you create a remote repository, Oxen will create a directory for it on the server. The directory structure is `$SYNC_DIR///.oxen`.
```bash theme={null}
ls /var/oxen/data/my_namespace/repo_name/.oxen
```
Output:
```
config.toml
history/
refs/
tree/
versions/
```
All of the metadata and versioned files for a repository are stored in the `.oxen` directory. This directory mirrors the `.oxen` directory in your local repository, so that logic can be reused between the client and server.
## 💾 Configureable Storage Backend
Oxen allows you to configure the storage backend of self-hosted oxen servers. By default, a repository's version files are stored in the `.oxen/versions/files` folder, but this can be changed by using the `--storage-backend` and `--storage-backend-path` parameters
```bash theme={null}
oxen create-remote --name ox/test_repo --host localhost:3000 --scheme http --storage-backend local --storage-backend-path ~/mountpoint/ox/test_repo/version/files
```
This is useful if you have a large amount of data and you want to store it on a virtual file system. If you set `--storage-backend-path` to a location on your VFS, files that you push to the remote will be stored there. Depending on your VFS, this can slow down some upload and download operations.
## ⬆️ Upload Data
To upload data to the server, you can use the `oxen` CLI to initialize a local repository, add data to it, and push it to the server.
```bash theme={null}
# Create a directory for the new dataset
mkdir my-dataset
cd my-dataset
# Initialize a local repository
oxen init
# Add data to the repository
echo "prompt,response" > data.csv
oxen add data.csv
# Commit the changes
oxen commit -m "Initial commit"
```
If you look in your local repository, you will see the `.oxen` directory.
```bash theme={null}
ls .oxen
```
Output:
```
config.toml
history/
refs/
tree/
versions/
```
You can set the remote to the server by running the following command. This will update the `config.toml` file in your local repository.
```bash theme={null}
oxen config --set-remote origin http://localhost:3000/my_namespace/repo_name
```
If you look at the `config.toml` file, you will see the remote set.
```bash theme={null}
cat .oxen/config.toml
```
Output:
```toml theme={null}
remote_name = "origin"
[[remotes]]
name = "origin"
url = "http://localhost:3000/my_namespace/repo_name"
```
Once a remote is set you can push your changes to the server.
```bash theme={null}
oxen push origin main
```
You can change the remote (origin) and the branch (main) to whichever remote and branch you want to push.
## ⬇️ Clone Data
Clone the empty repository:
```bash theme={null}
oxen clone http:///my_namespace/repo_name
```
## API Spec
The server has a REST API that can be used to interact with the server. The API is documented [here](/http-api).