🔒 Authentication & Authorization
At Oxen.ai we take your data security and privacy seriously. Every action performed on an Oxen.ai repository needs to be authenticated and authorized. You must provide an API_KEY to perform any actions on an Oxen.ai repository. You must also have the correct permissions to perform the action.Public vs Private Repositories
On Oxen.ai you can choose if you want your repositories to be public or private. Private repositories limit access to the public internet, and can have viewers, editors, or admin roles.Obtain Auth Token
Before you can write to a remote repository, you must have permissions to do so. Permissions are handled through anauth_token that is passed in with the request.
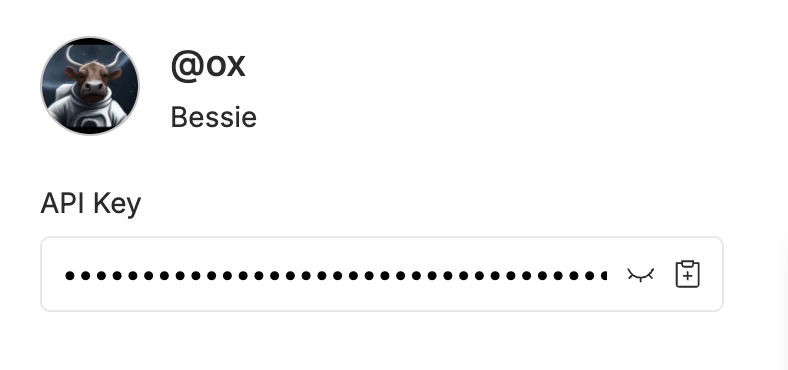
You can obtain an API Key by creating an account on Oxen.ai and going to your profile.
Set Auth Token
To set your auth token, you can either set it through the command line interface or directly in python.~/.config/oxen/auth_config.toml for future use. If you set up your own oxen-server you can generate custom auth tokens there.
Setup User
In order for Oxen to know who is committing and where to sync to by default, you must call config_user and pass in the name and email you would like to use in your commit messages.~/.config/oxen/user_config.toml that contains your user configuration.