In Oxen.ai, datasets are the foundation of improving your models. They are the ground truth to evaluate your models on. They are the starting point for any model fine-tuning loop. Oxen.ai allows you to version, query, and edit your datasets with an easy to use web interface as well as a command line tools and python library.Documentation Index
Fetch the complete documentation index at: https://docs.oxen.ai/llms.txt
Use this file to discover all available pages before exploring further.
Repositories vs Datasets
Repositories are the top level container for your datasets. Similar to GitHub, they are just a collection of versioned files and directories.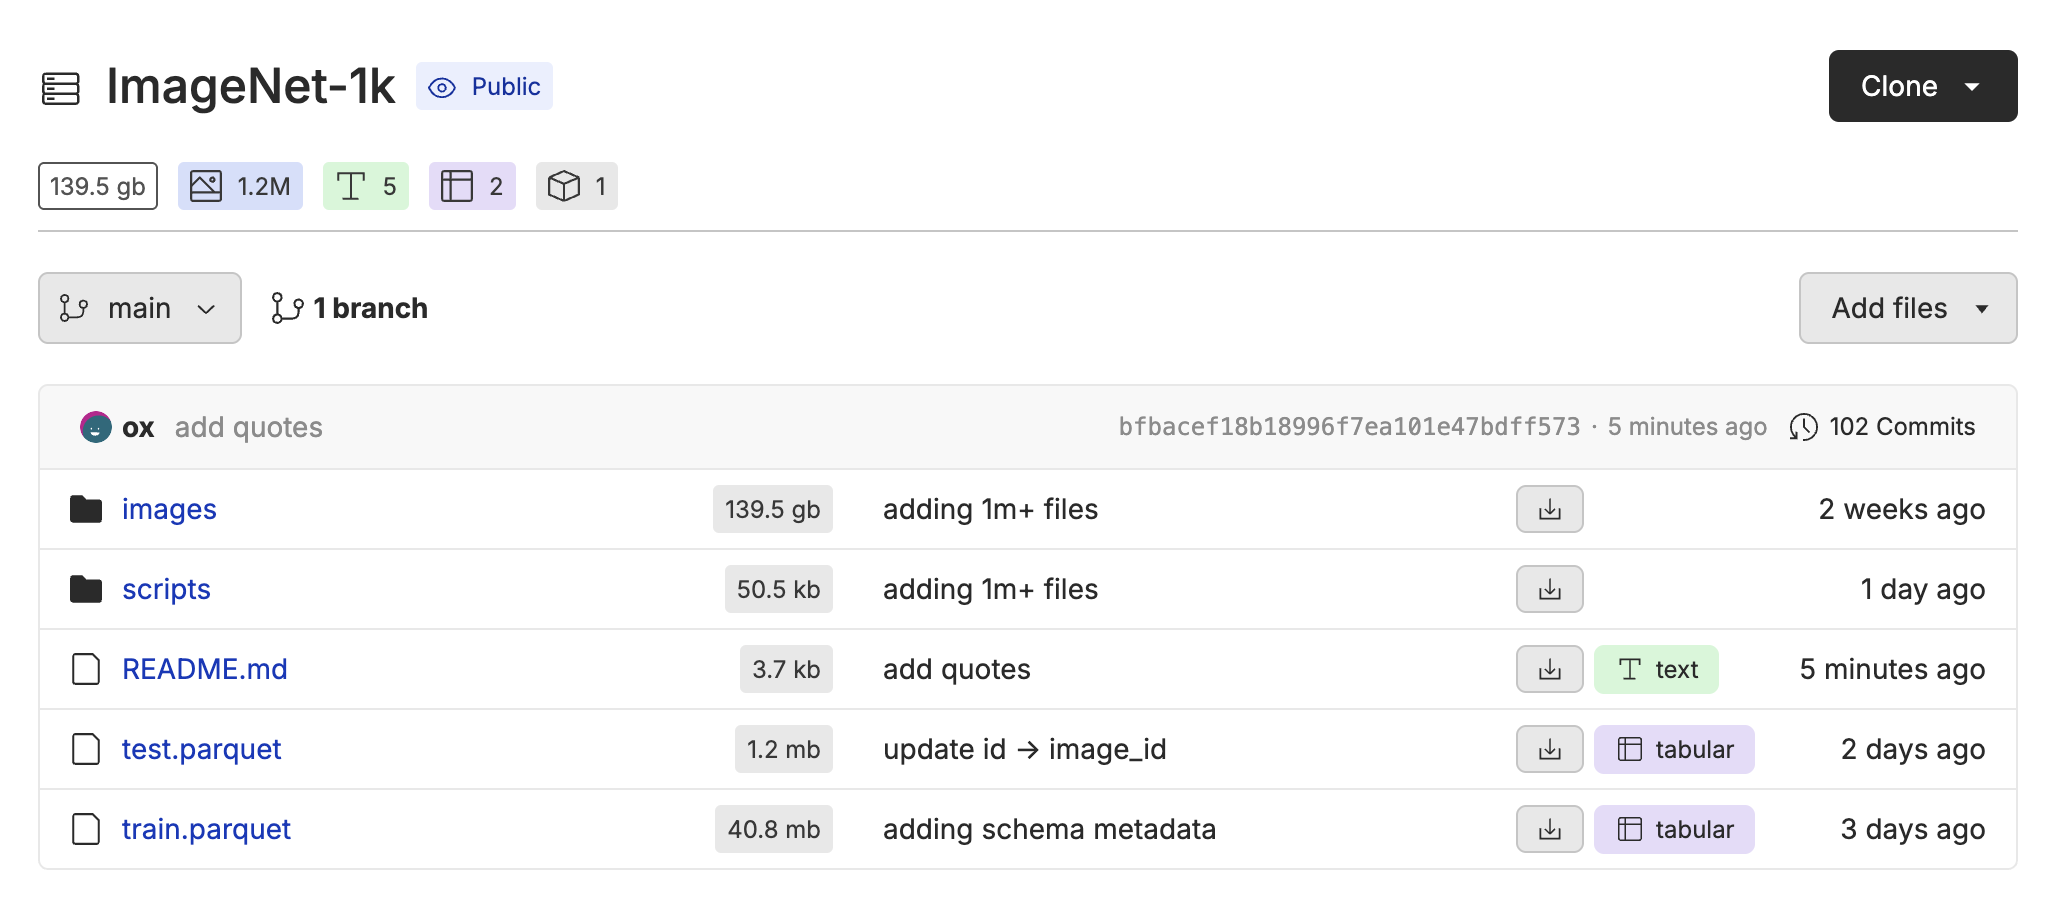
csv, tsv, jsonl and parquet come to life. These dataset files can be multi-modal containing links to images, audio, and PDFs. You can query them in natural language, and edit them like a spreadsheet.
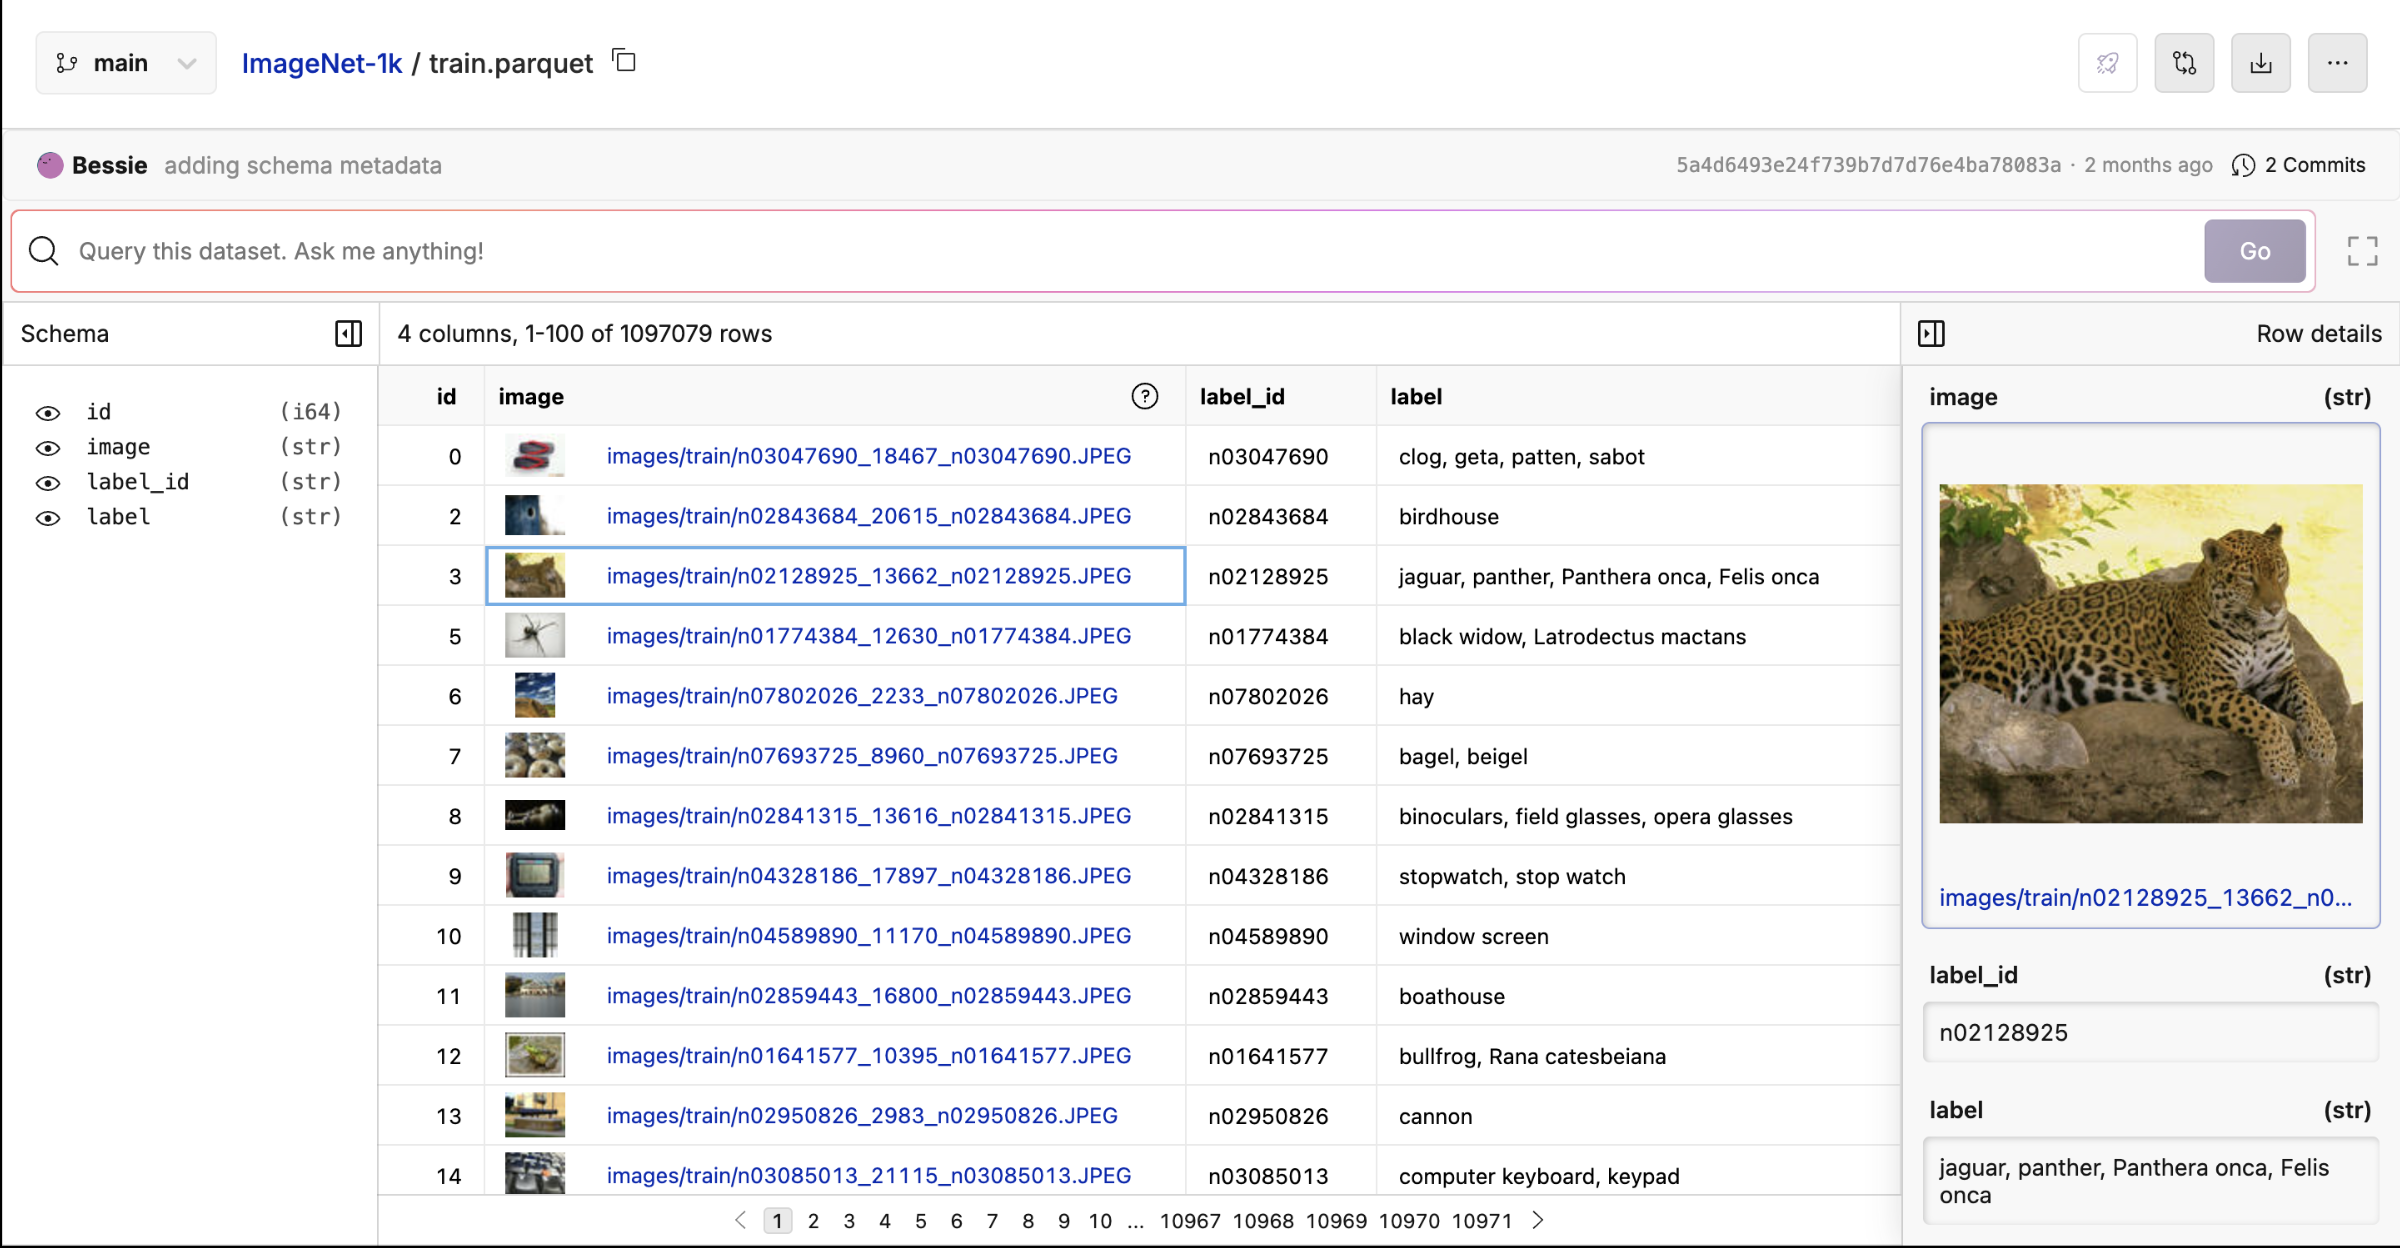
View Your Dataset
Click the file your repository to open the dataset you want to work with. If you want to follow along with this example, download the Thinking LLMs dataset.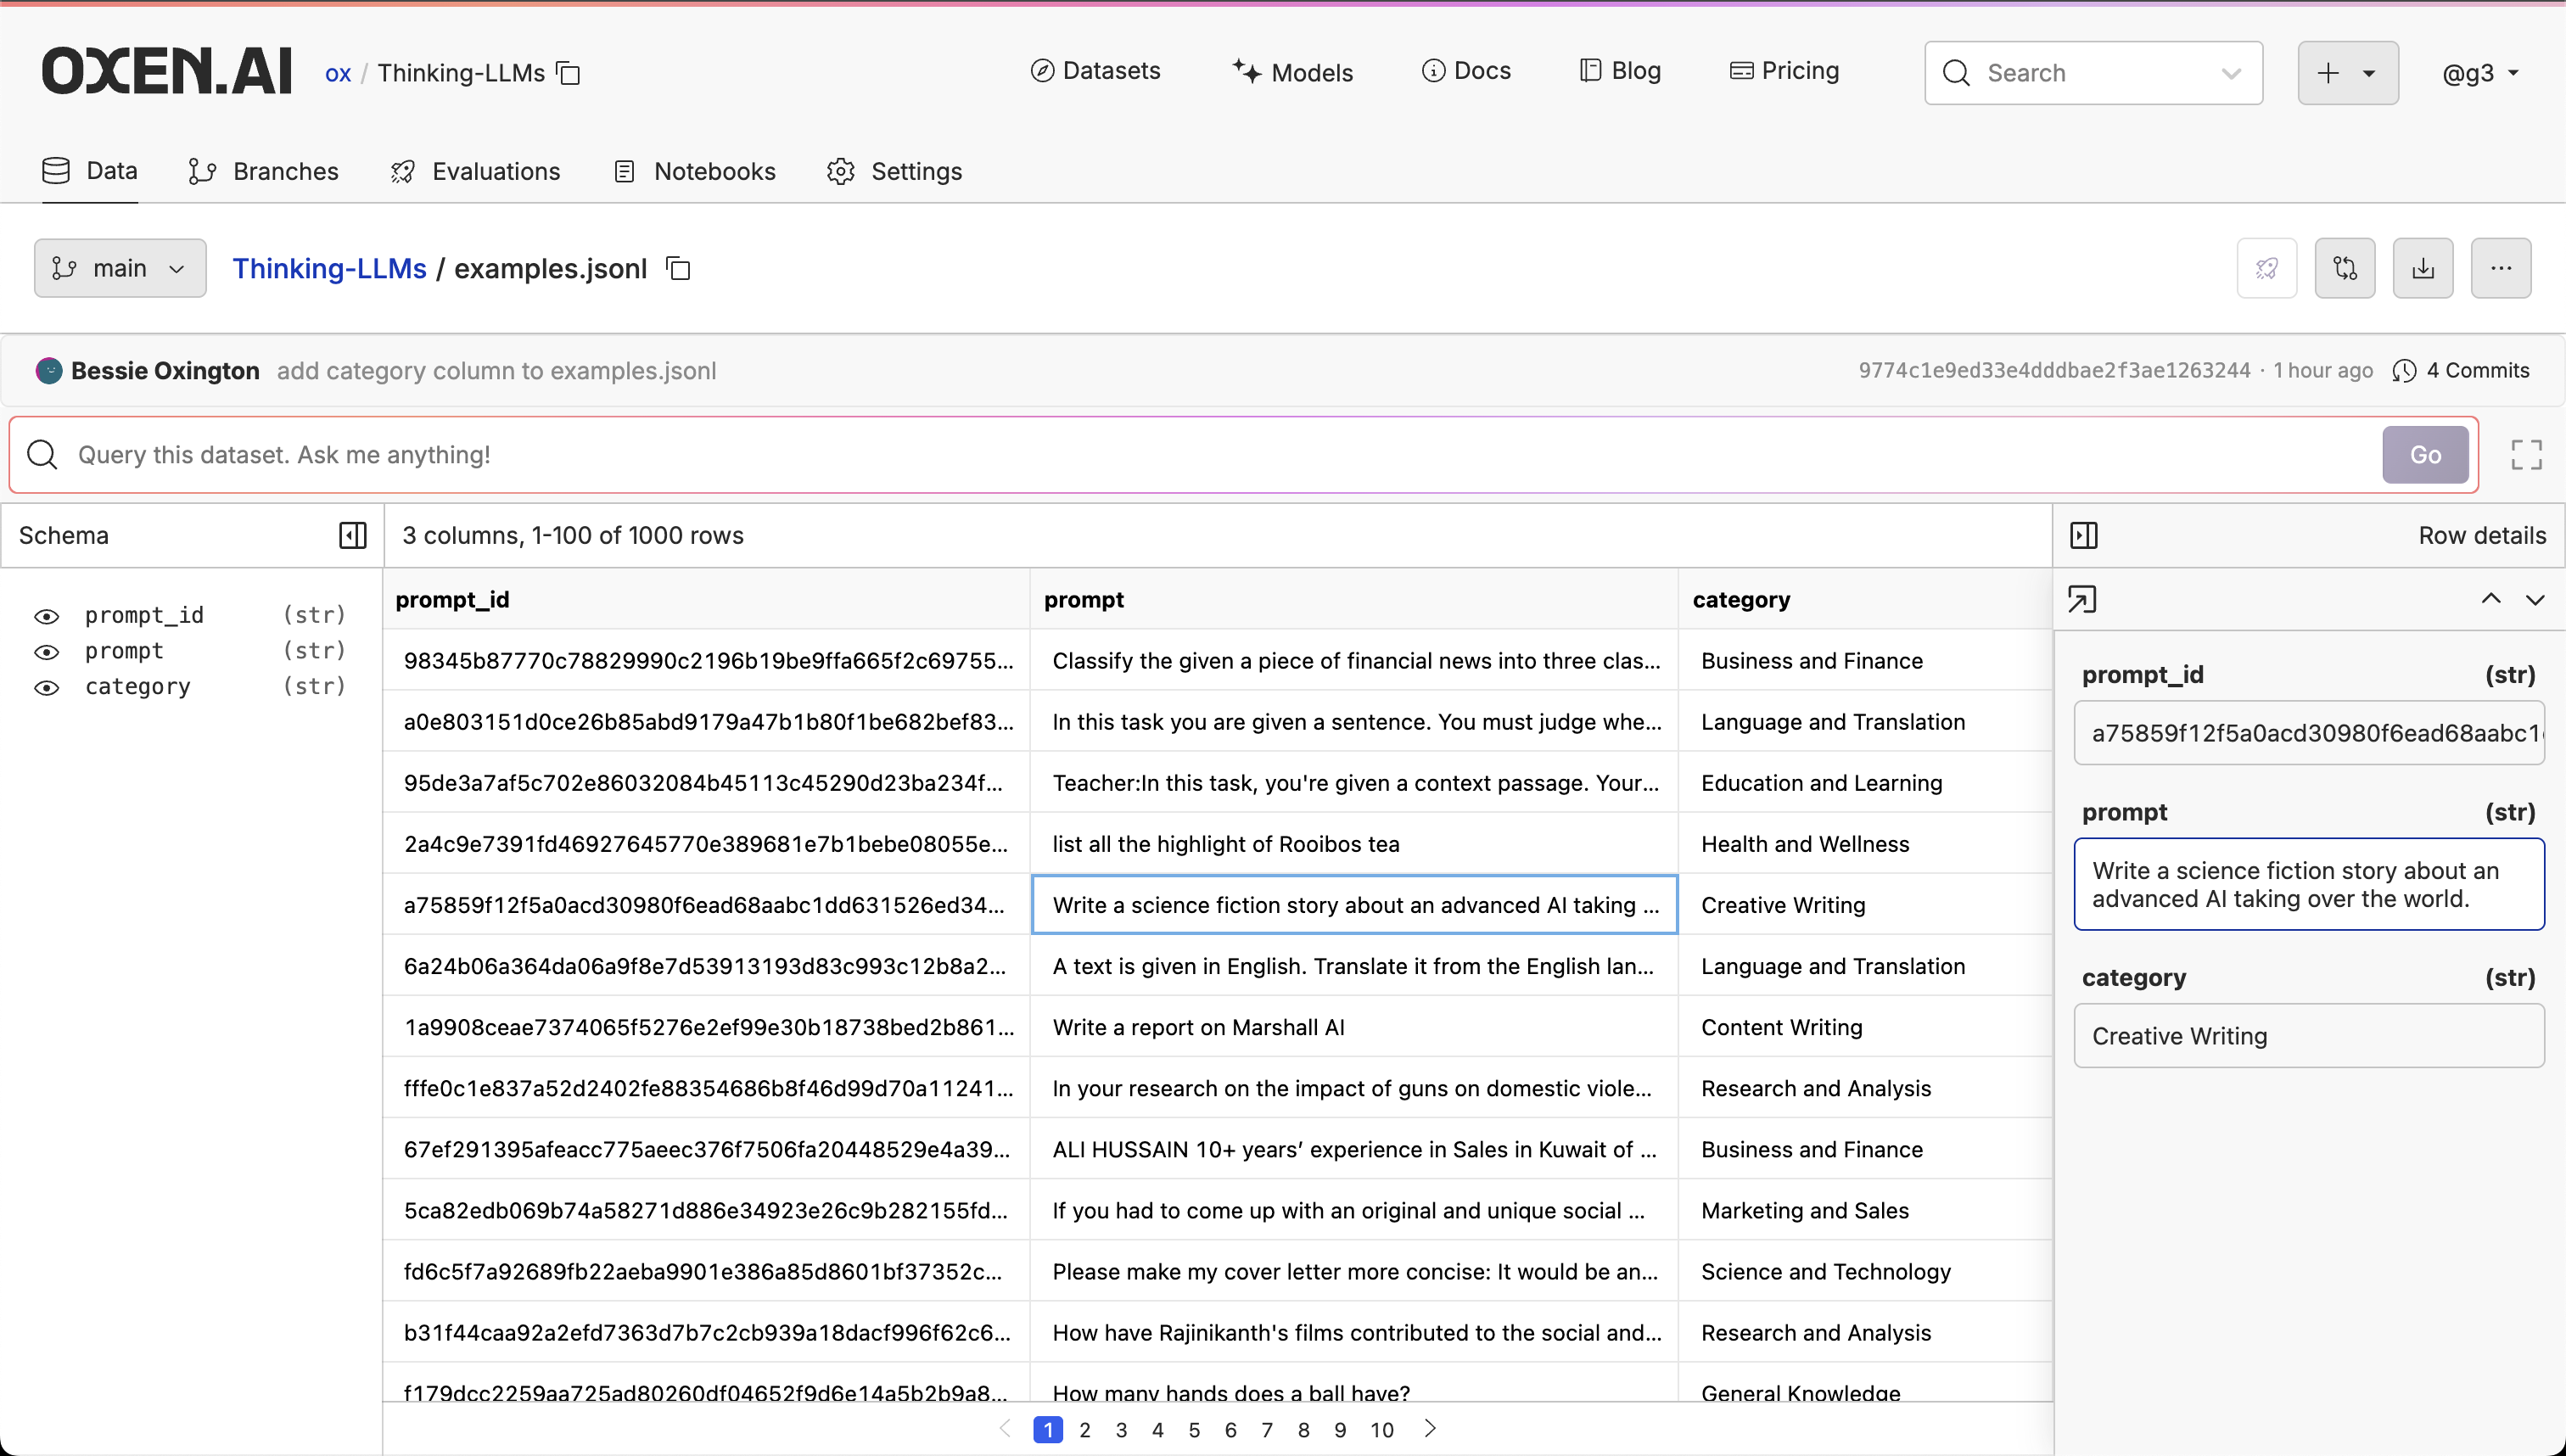
Download Your Dataset
Datasets can be downloaded directly from the UI or using the CLI and Python library. You can grab any revision of the dataset by specifying the revision as a branch name or commit id.Upload Your Dataset
Once you have created a repository, you can use the “Add Files” button on your repository to upload dataset files through the UI. The dataset will automatically be versioned so you can iterate on it and track changes.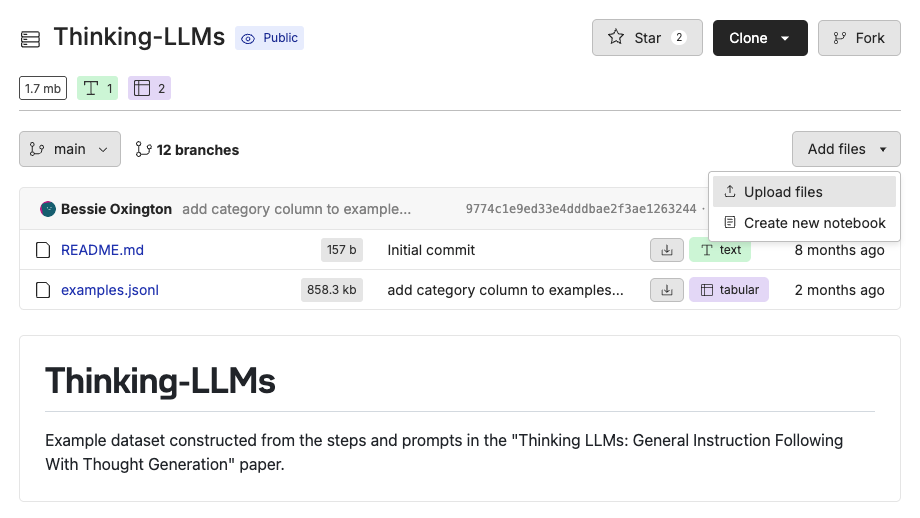
add and commit your changes.
To perform write operations on datasets, you need to be an editor on the repository and have your username and API key set. You can set your username and API key using the CLI or Python library.
Configure Your Username
Configure Your API Key
Using fsspec
Since datasets are just stored as files and directories, you can interact with them directly using fsspec. This allows you to read and write to them similar to how you would with a local file system.
For example if you want to read the contents of a file on the server, you can simply use the open method.
Python
write method.
Python
with block.
Python
Using Pandas
SinceOxenFS implements the fsspec interface, you can use it with any library that supports fsspec. For example, you can use it with pandas to read and write to datasets.
Python
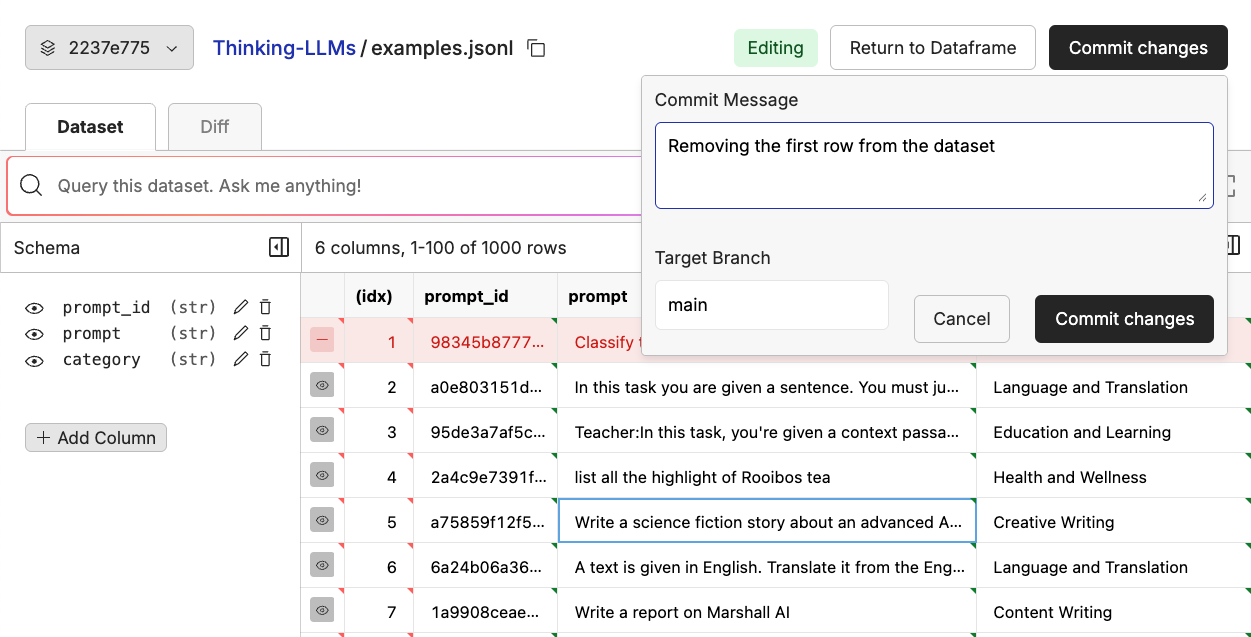
Editing Your Dataset
You can edit your dataset directly from the UI by clicking the pencil icon in the upper right of the dataset viewer. This will open the file in an editor that will allow to add, edit, and delete rows and columns.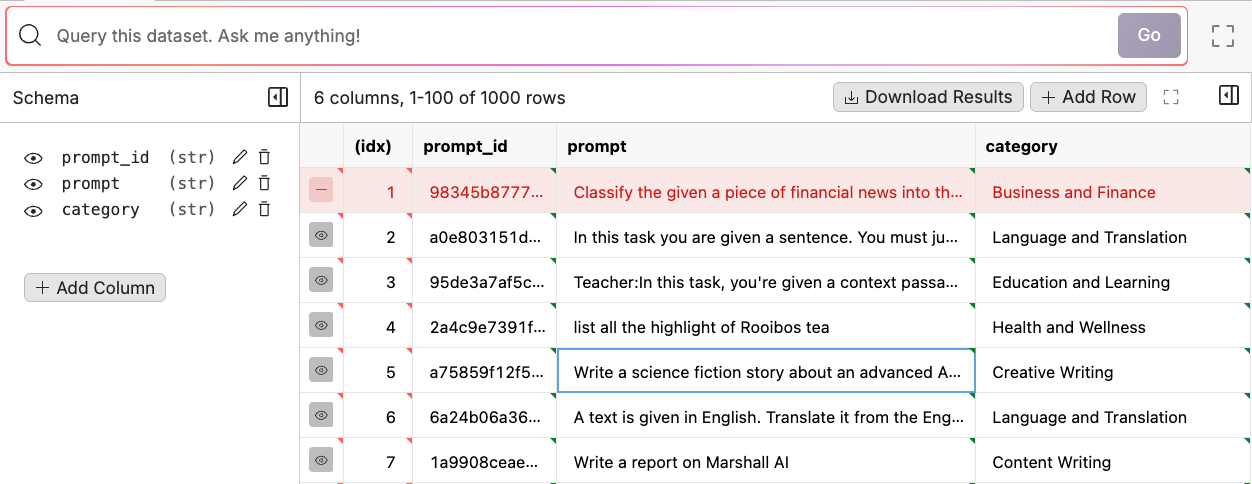
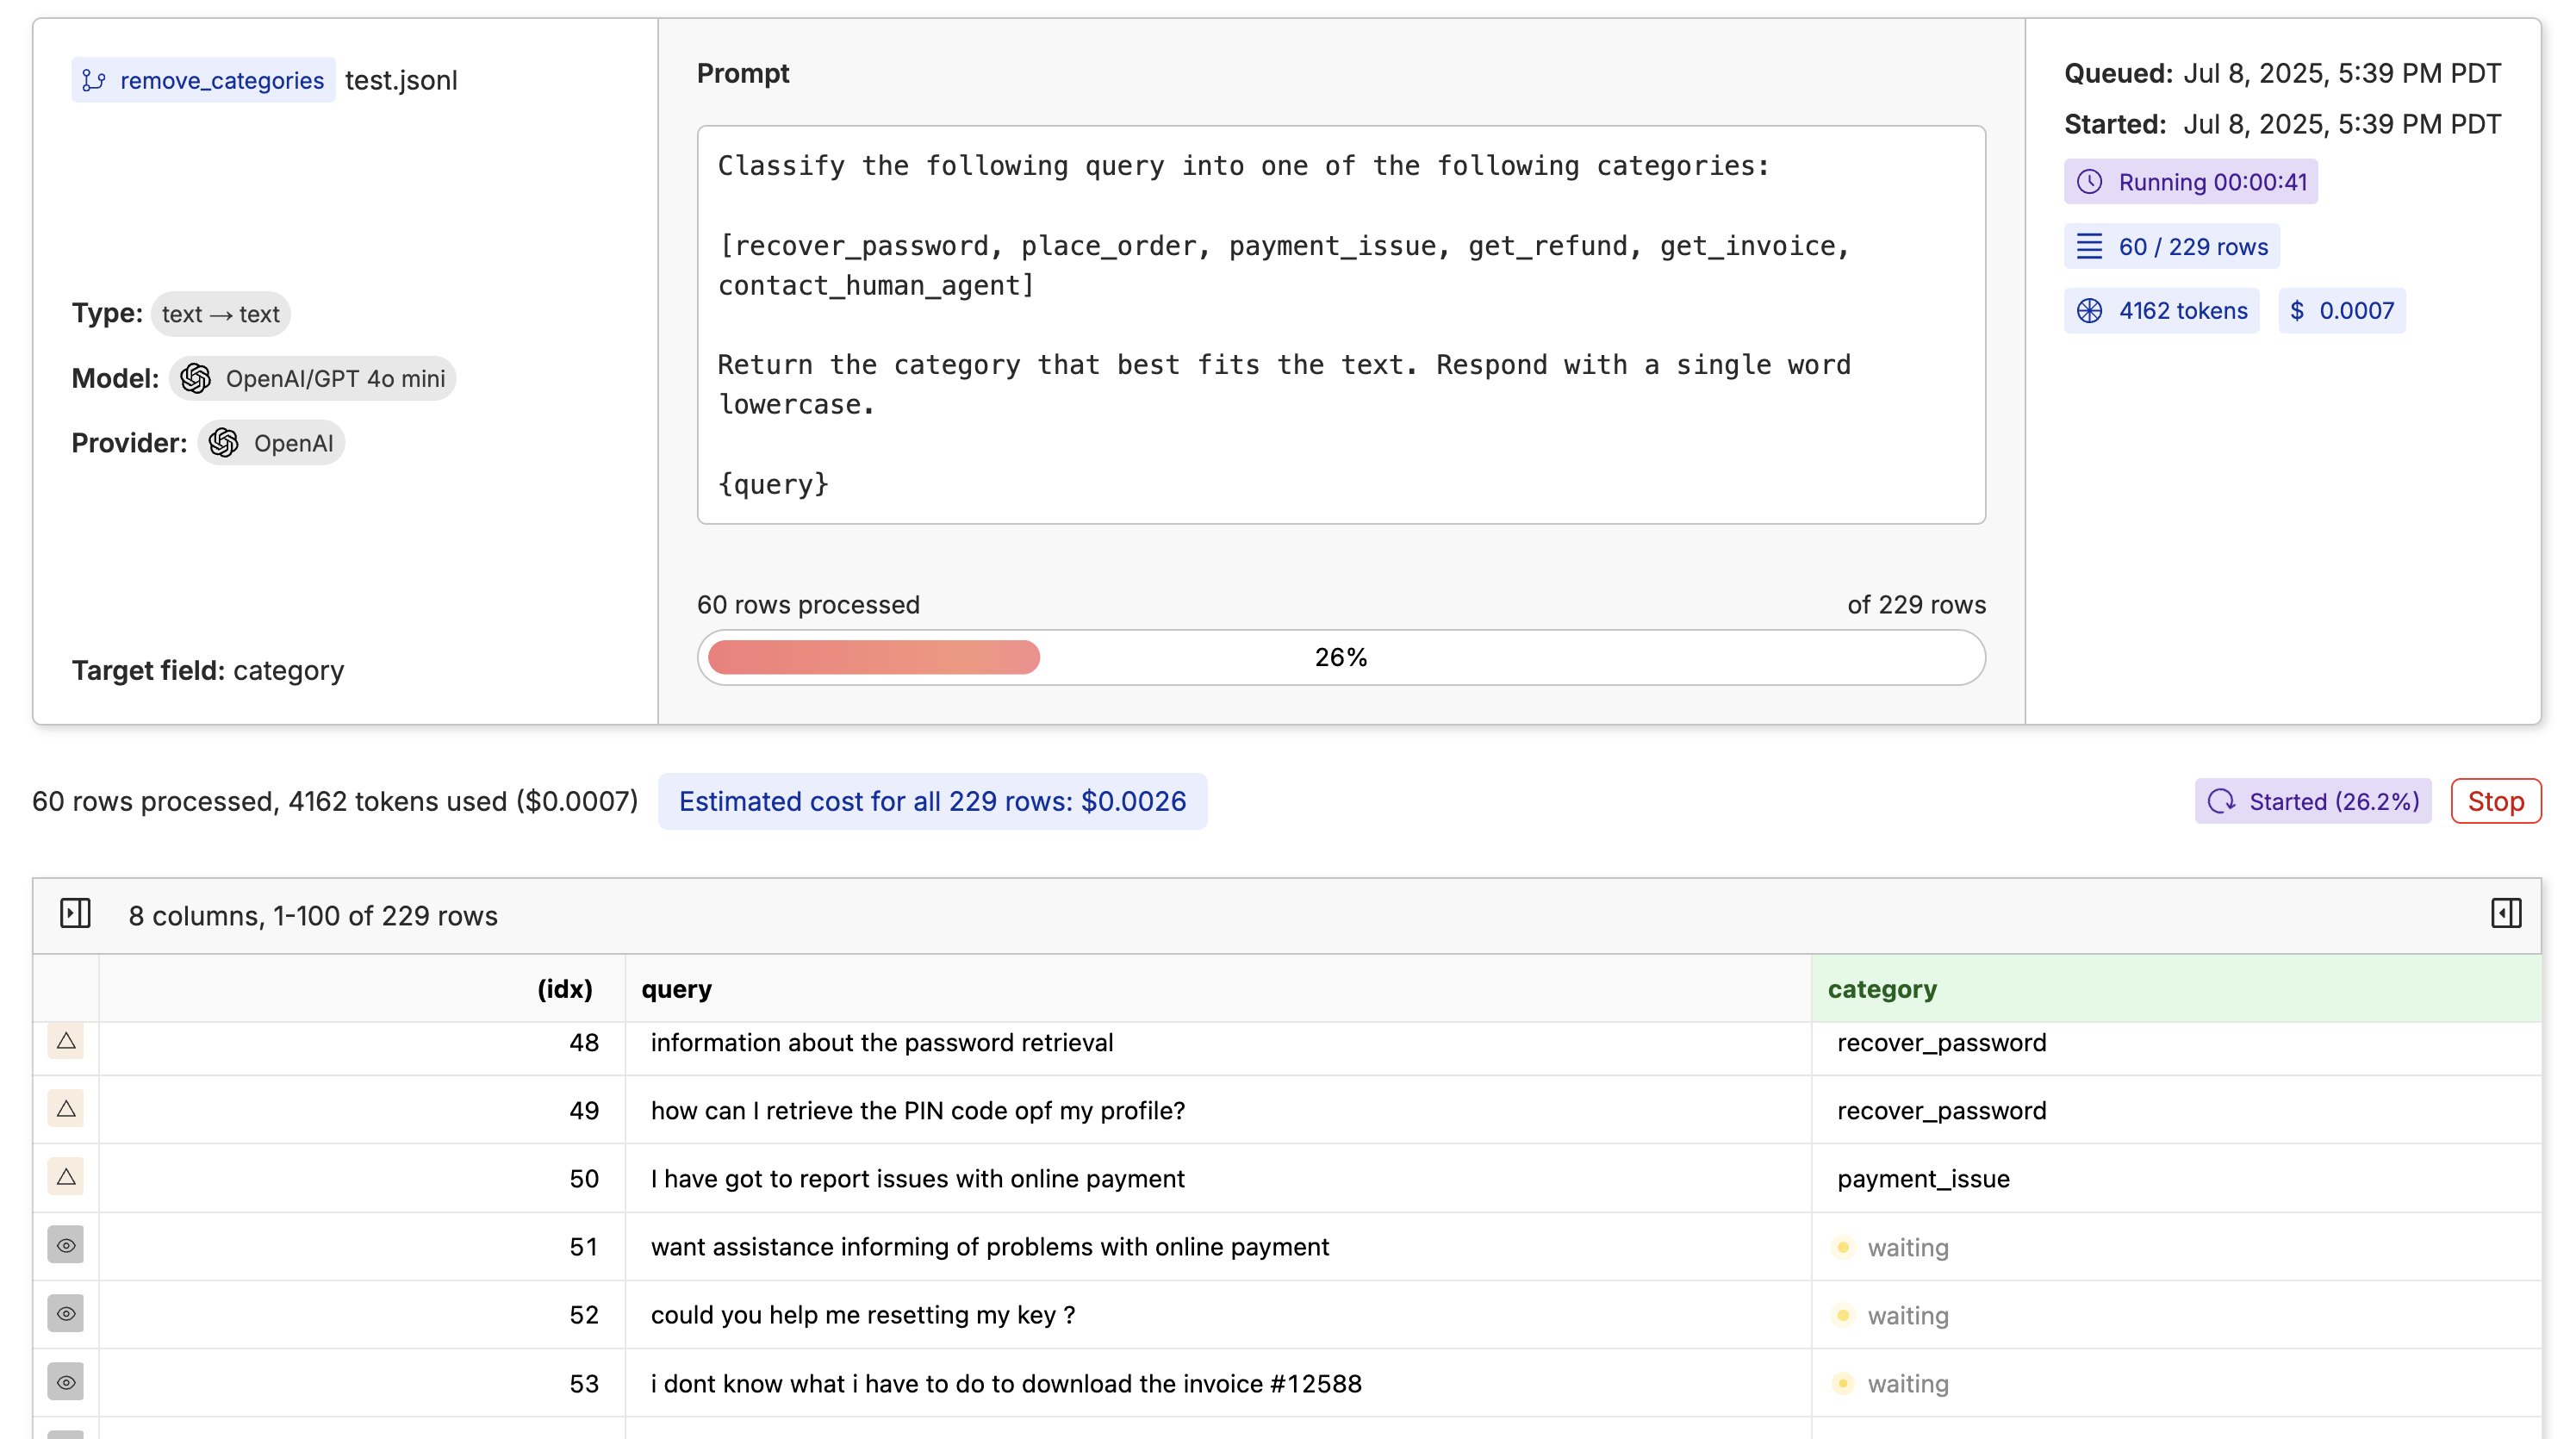
Use LLMs to Augment Your Dataset
In Oxen.ai, you can generate new columns and rows using LLMs. This is a great way to automatically label your dataset or generate training data for small LLMs from larger models. Click the “Actions” button and select “Run Inference”.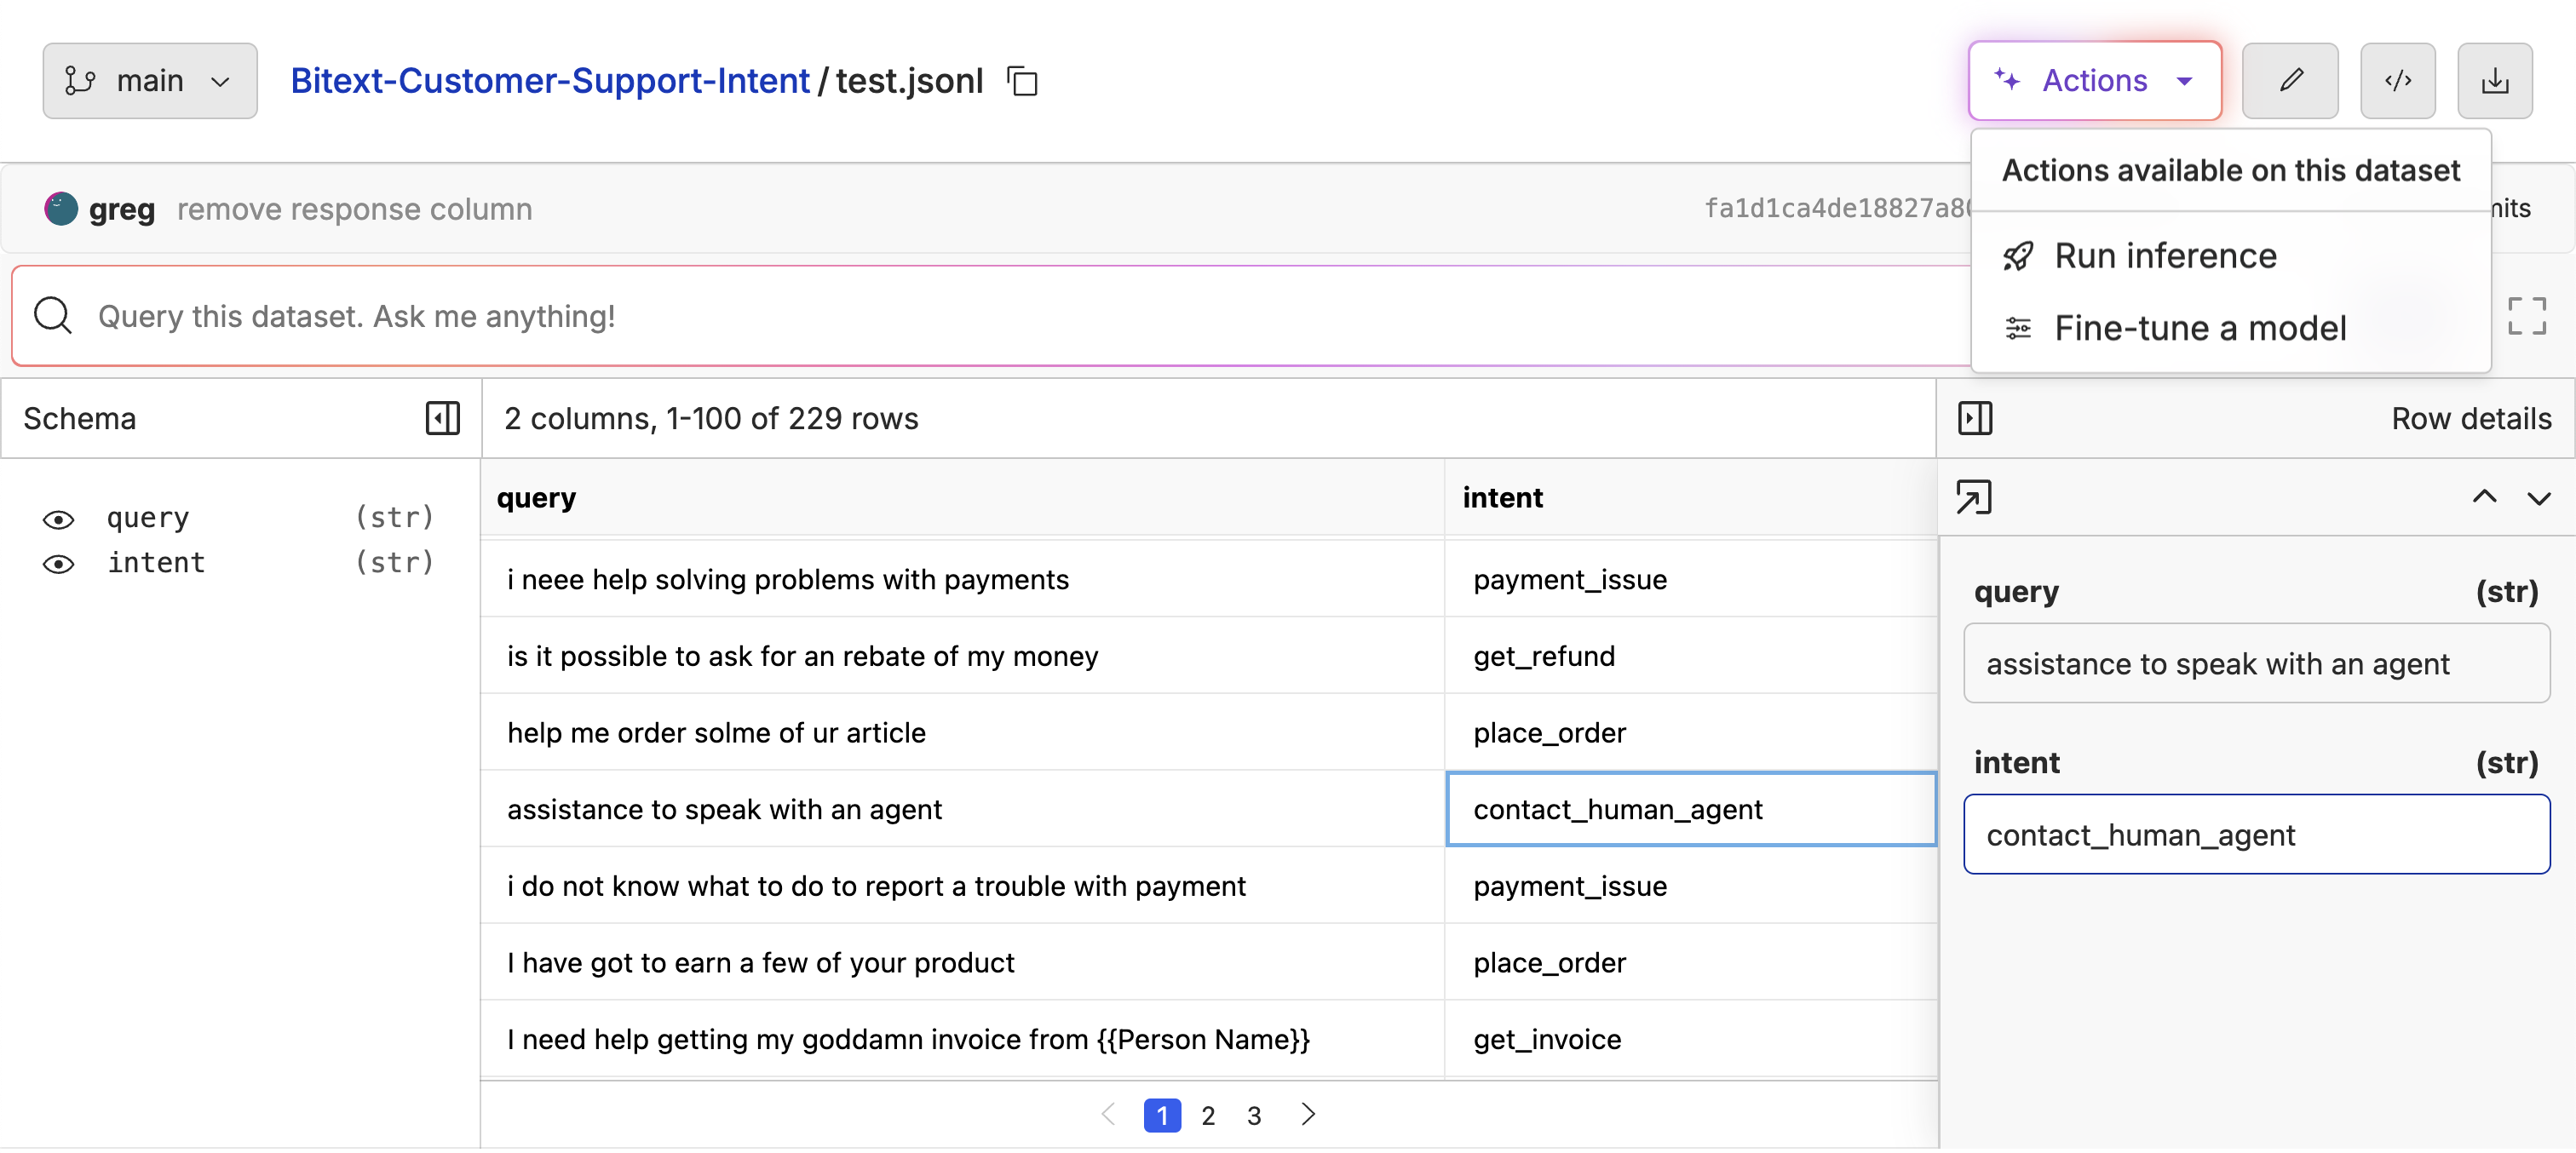
Query Your Dataset
To query your dataset, write a question in plain English in the search bar. This will automatically translate the question into a SQL query and apply it to the view of your data. For example, you can look at the distribution of question types by asking: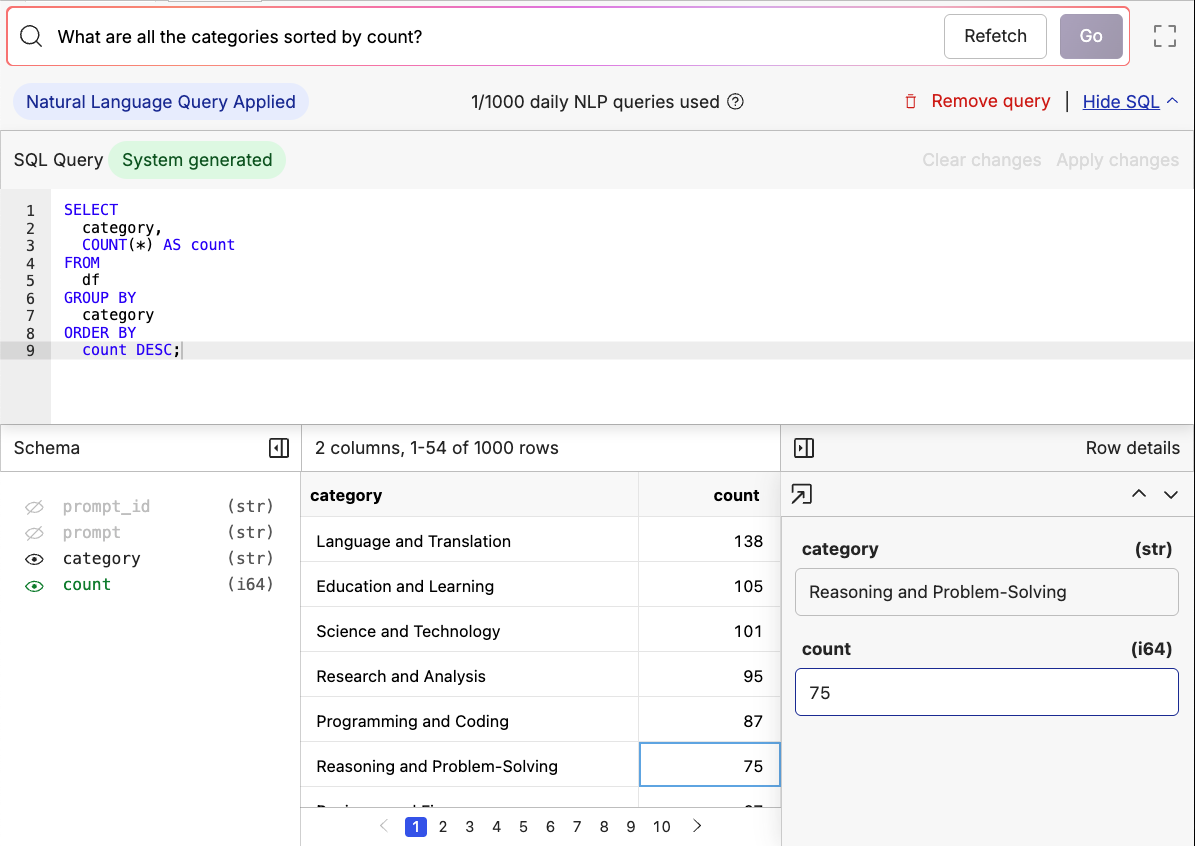
Your Dataset is a Database
Datasets look like raw files on the surface, but some of their superpowers come from the fact that Oxen.ai can index them into a DuckDB database on the remote server. This allows you to query your dataset directly with SQL. You can use the DataFrame class in the python library to interact with your dataset as a database.Python
Python
Note: There are currently some limitations to the DataFrame API.
- You must have write access to the repository to use the DataFrame API. This is because it creates a workspace on the remote server to index the dataset.
- Indexing may take a while for large files, and is performed on instantiation of the DataFrame object.
- The DataFrame API is currently only supported for single files, you cannot yet use it to JOIN datasets across files.
Datasets as a Vector Database
If you have a column in your dataset that contains a vector of floats representing a piece of text or image, you can use Oxen.ai as a vector database to sort by similarity.
Python
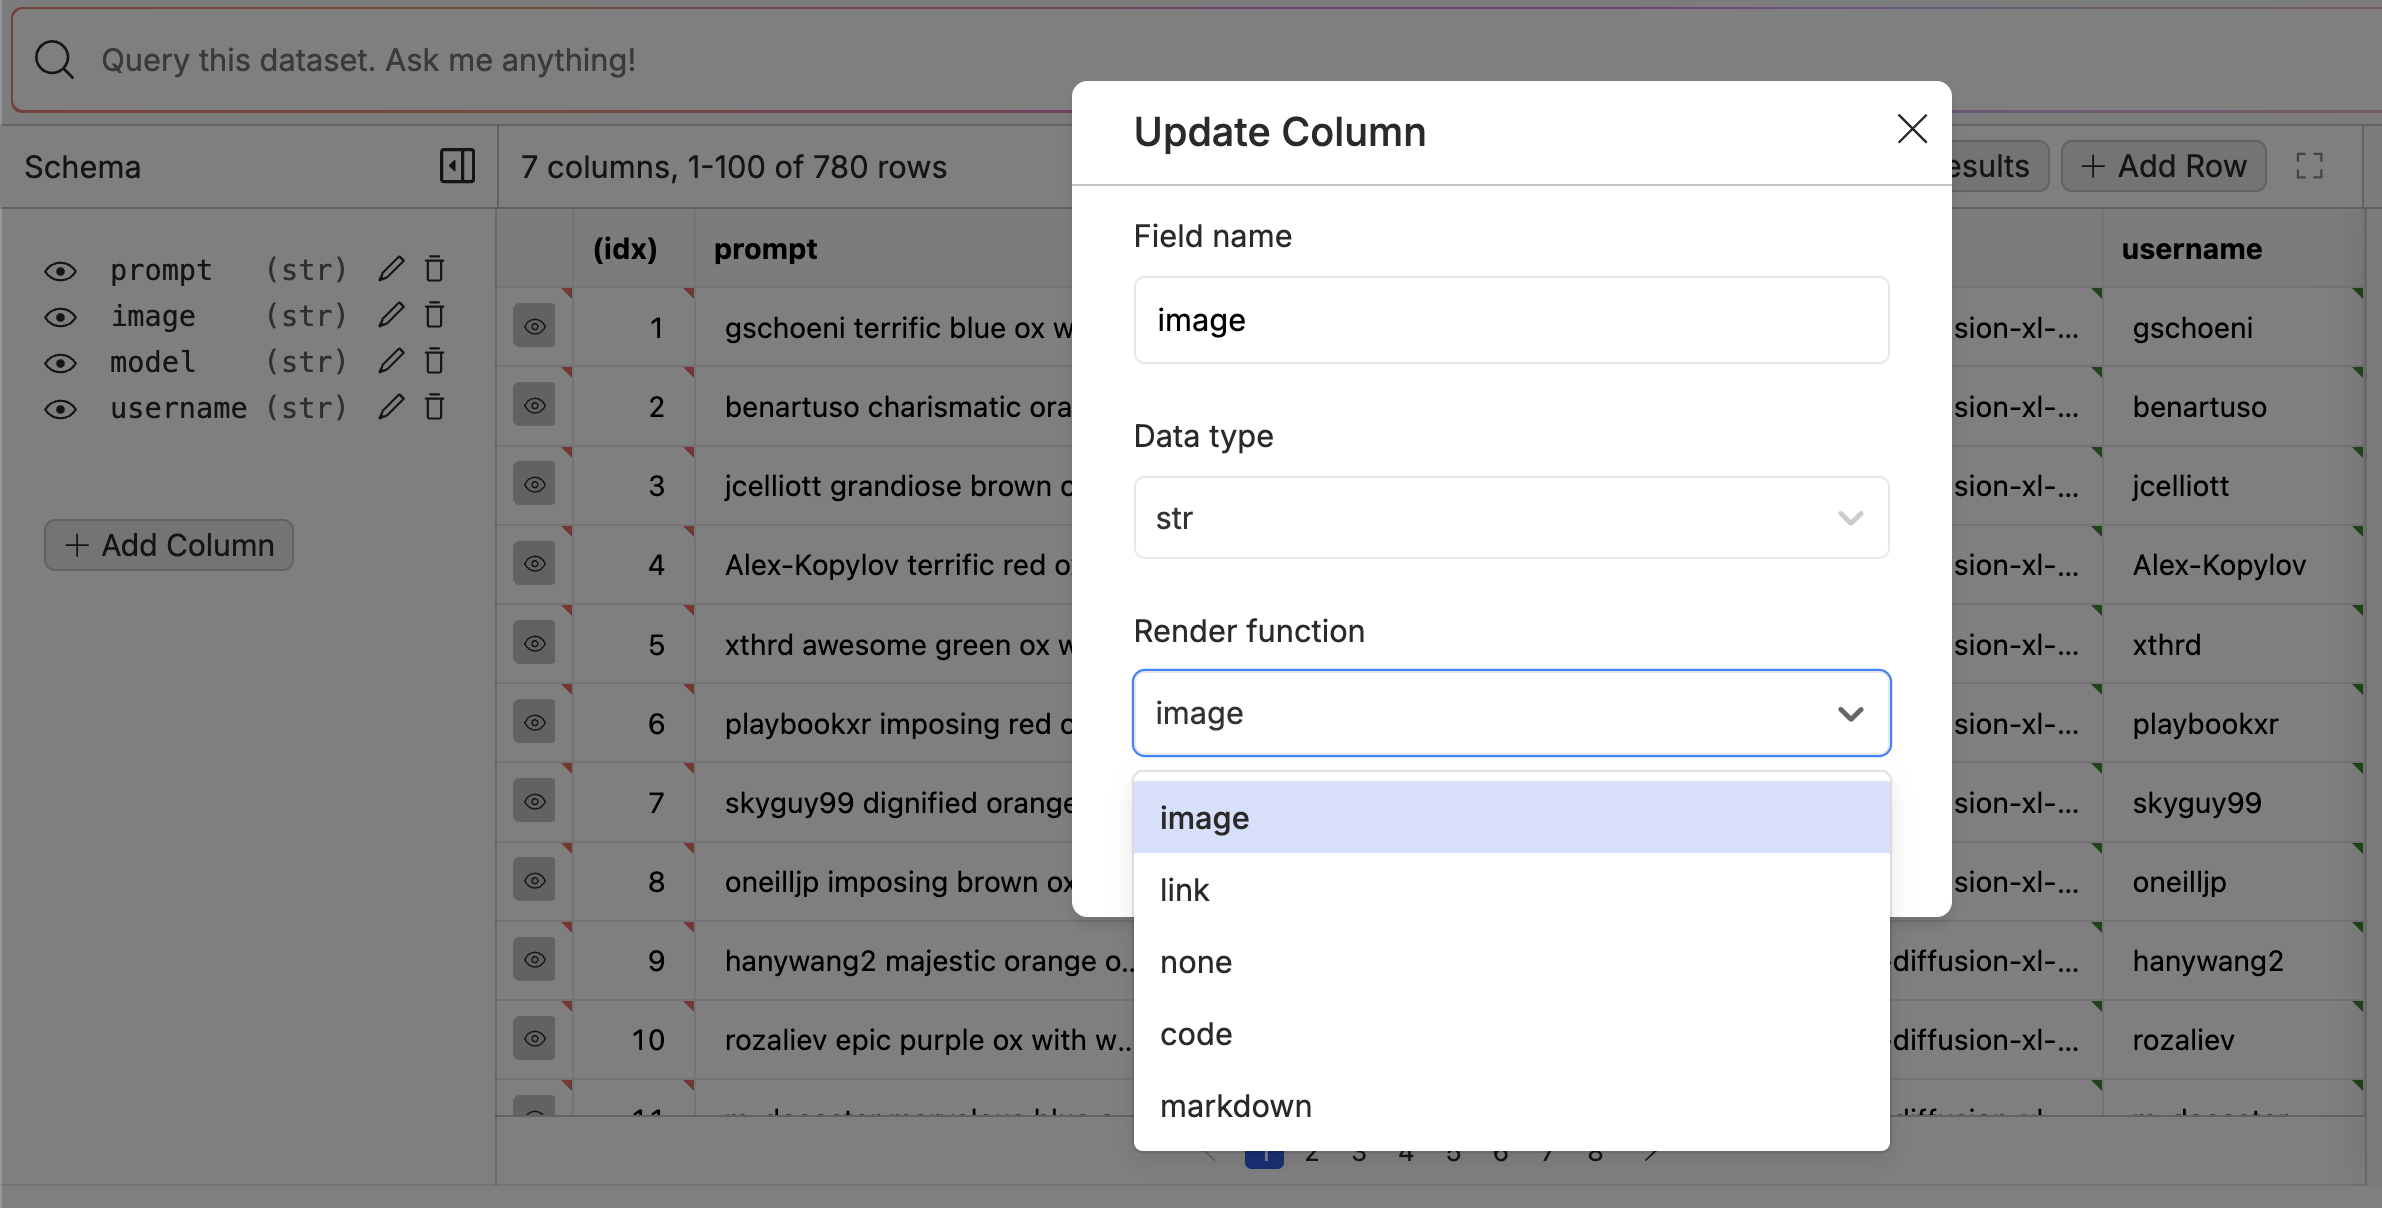
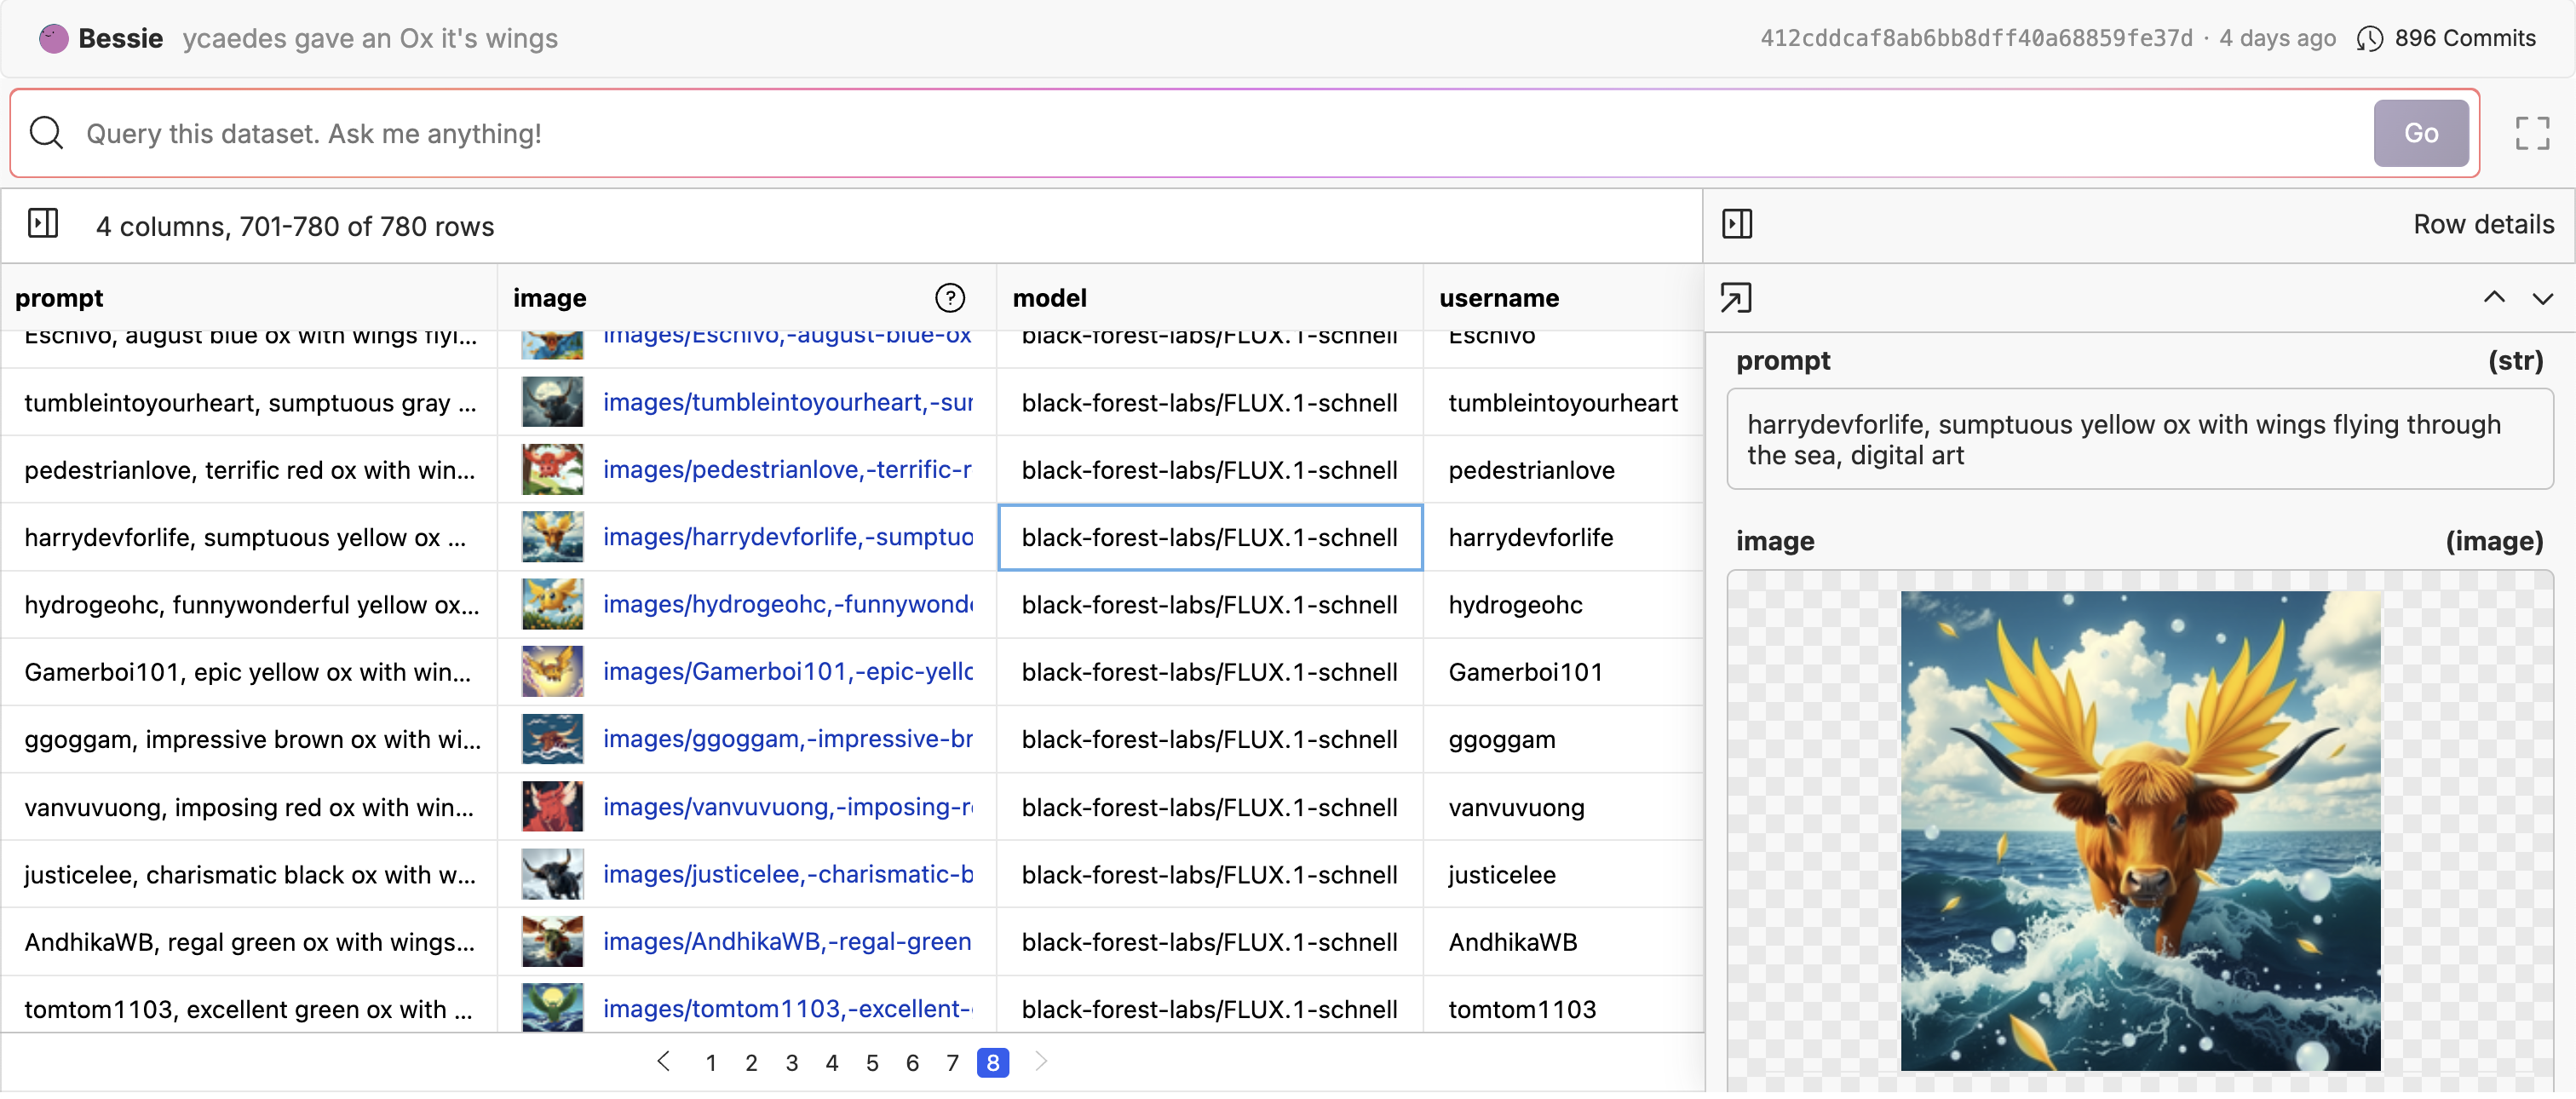
Rendering Images and Links
In the dataset viewer, you can render images and links to other files in the dataset. The assumption is that the value in the rows is a relative path to a file in the same repository. For example if we have a directory of images in theimages directory, we can render the image by using the relative path to the image images/my_image_0.png.
render function in the dataset viewer. Go into the edit mode of the dataset, then edit the column you want to render. You can select from a few different rendering options including: image, link, markdown, and code.