Preparing the dataset
When fine-tuning a VLM, you need a dataset that contains the images, user prompts, and responses that are expected from the VLM. The dataset format can be a csv, jsonl, or parquet file with a column that contains the relative path to the image in the repository. To see an example of the dataset format, check out the Tutorials/Geometry3K dataset. Each row in this dataset should have an associated image in the repository stored atimages/train/image_{n}.png.
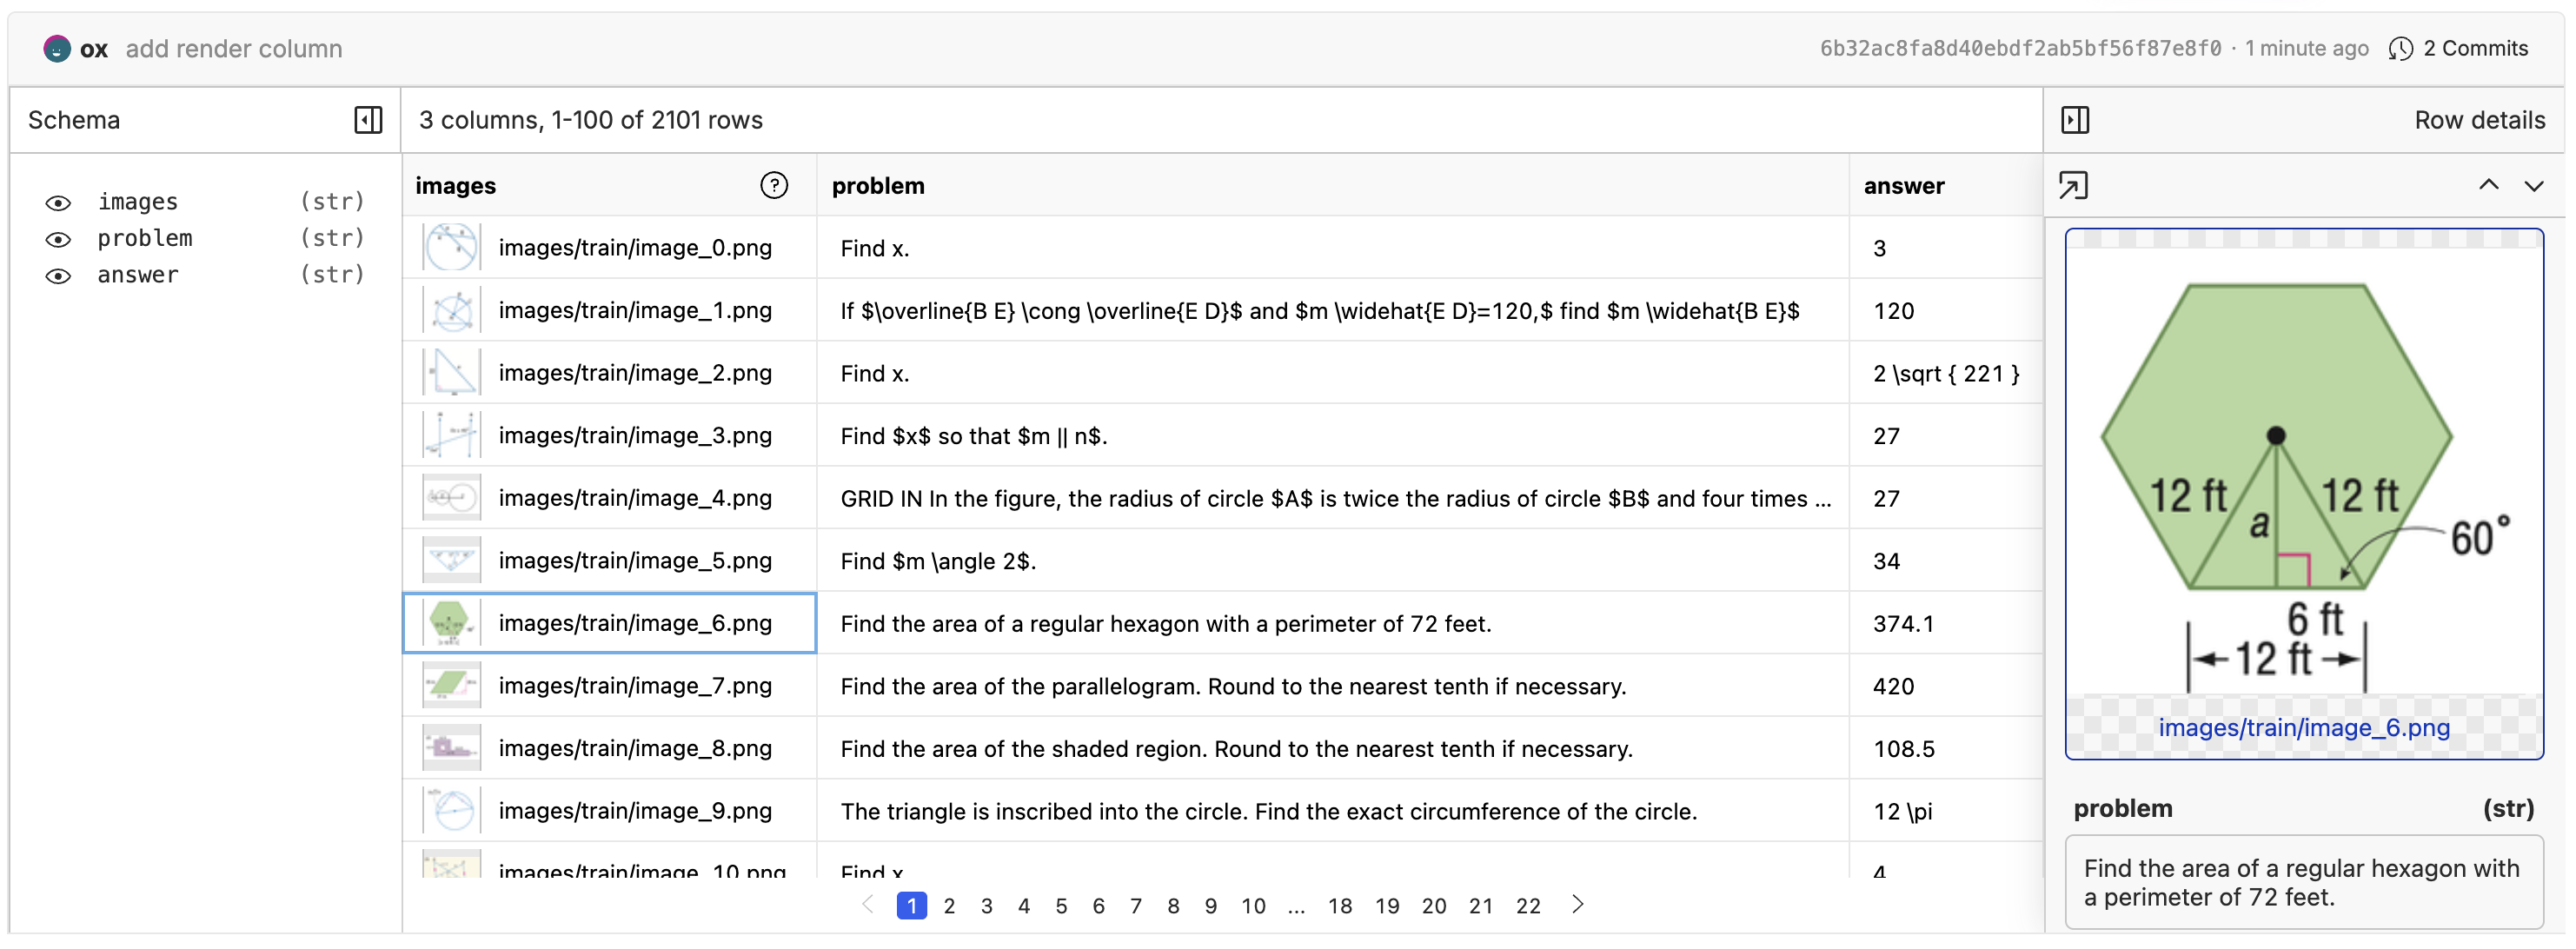
Rendering Images
In order to view the images, you will need to enable image rendering on your images column. Click the “✏️” edit button above the dataset, then edit the column to enable image rendering. The video below shows the whole process.Fine-tuning a model
With your images labeled and you are happy with the quality and quantity, it is time to kick off your first fine-tune. Click the “Actions” button and select “Fine-Tune a Model”.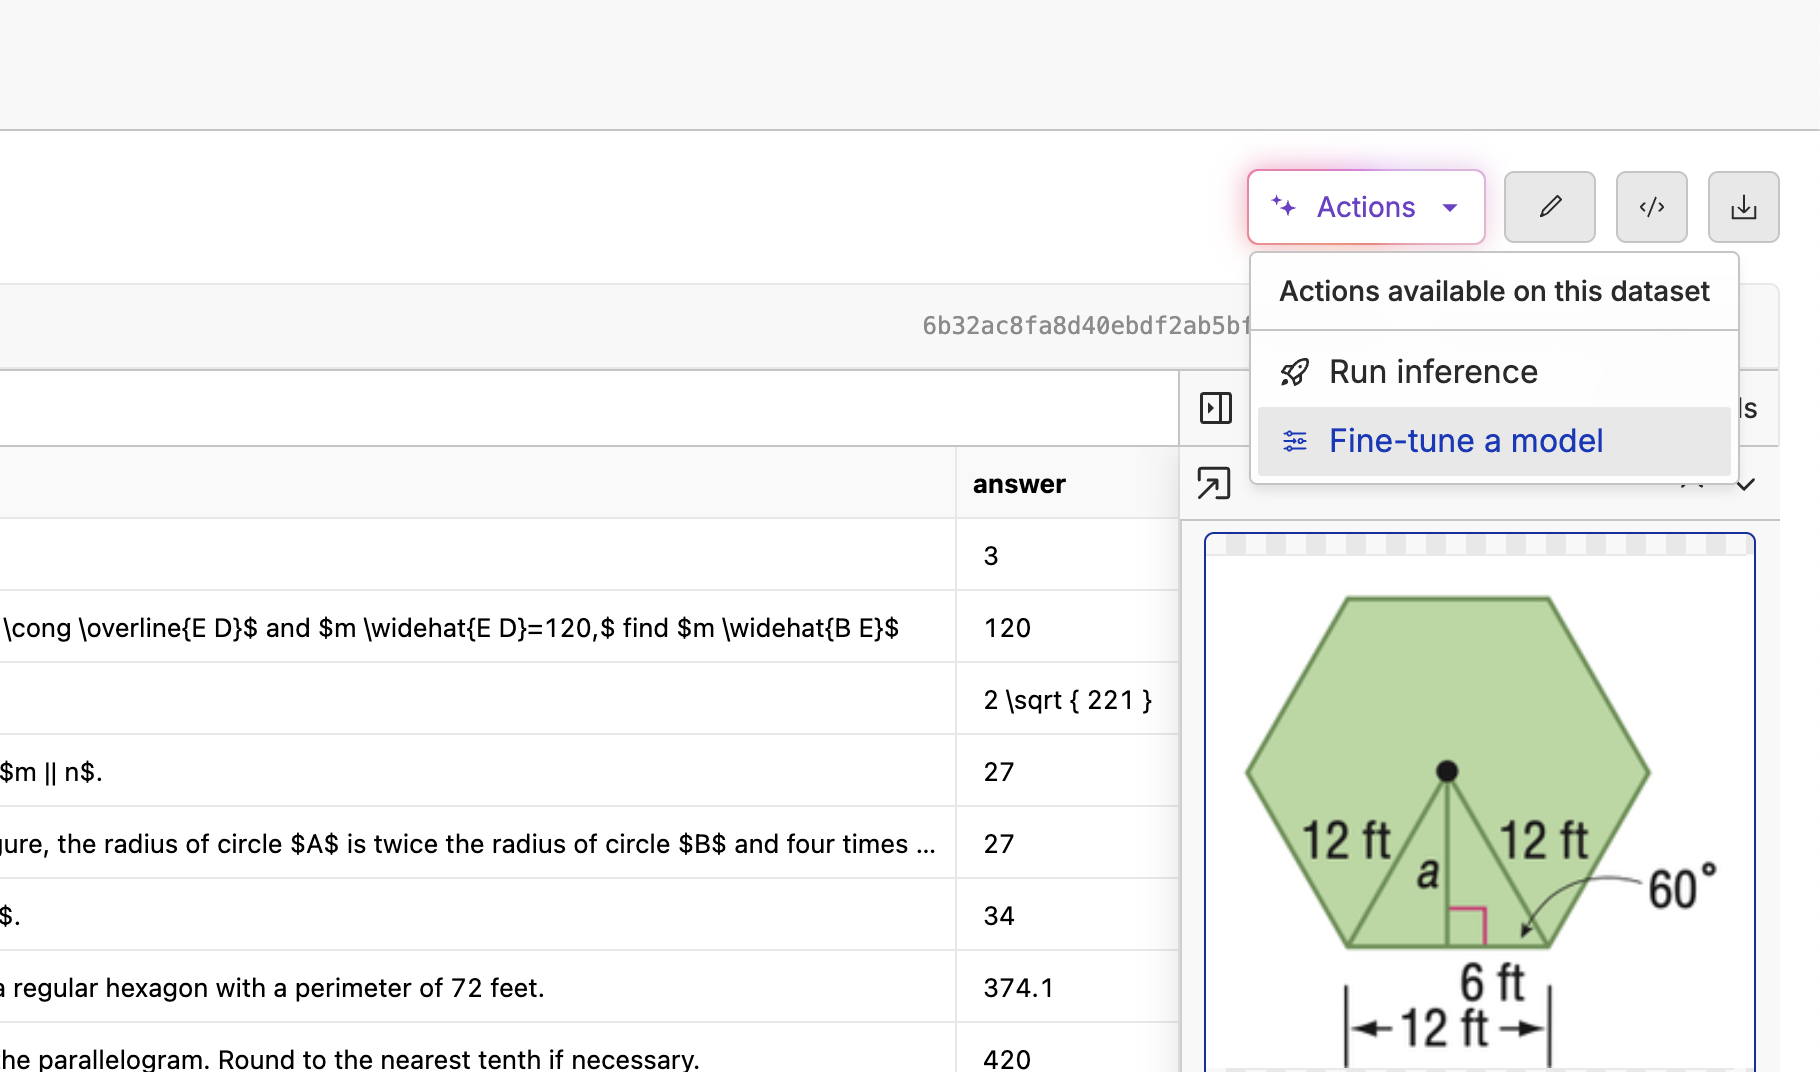
Image to Text task, and select the Qwen/Qwen3-VL-2B-Instruct model. Make sure the “Image” column is set to the proper image column, and the “Prompt” and “Response” columns are set to the inputs and outputs you expect.

Deploying the Model
Once the model is trained, you can deploy it to the cloud and start using it in your applications. Click the “Deploy” button and we will spin up a dedicated GPU instance for you.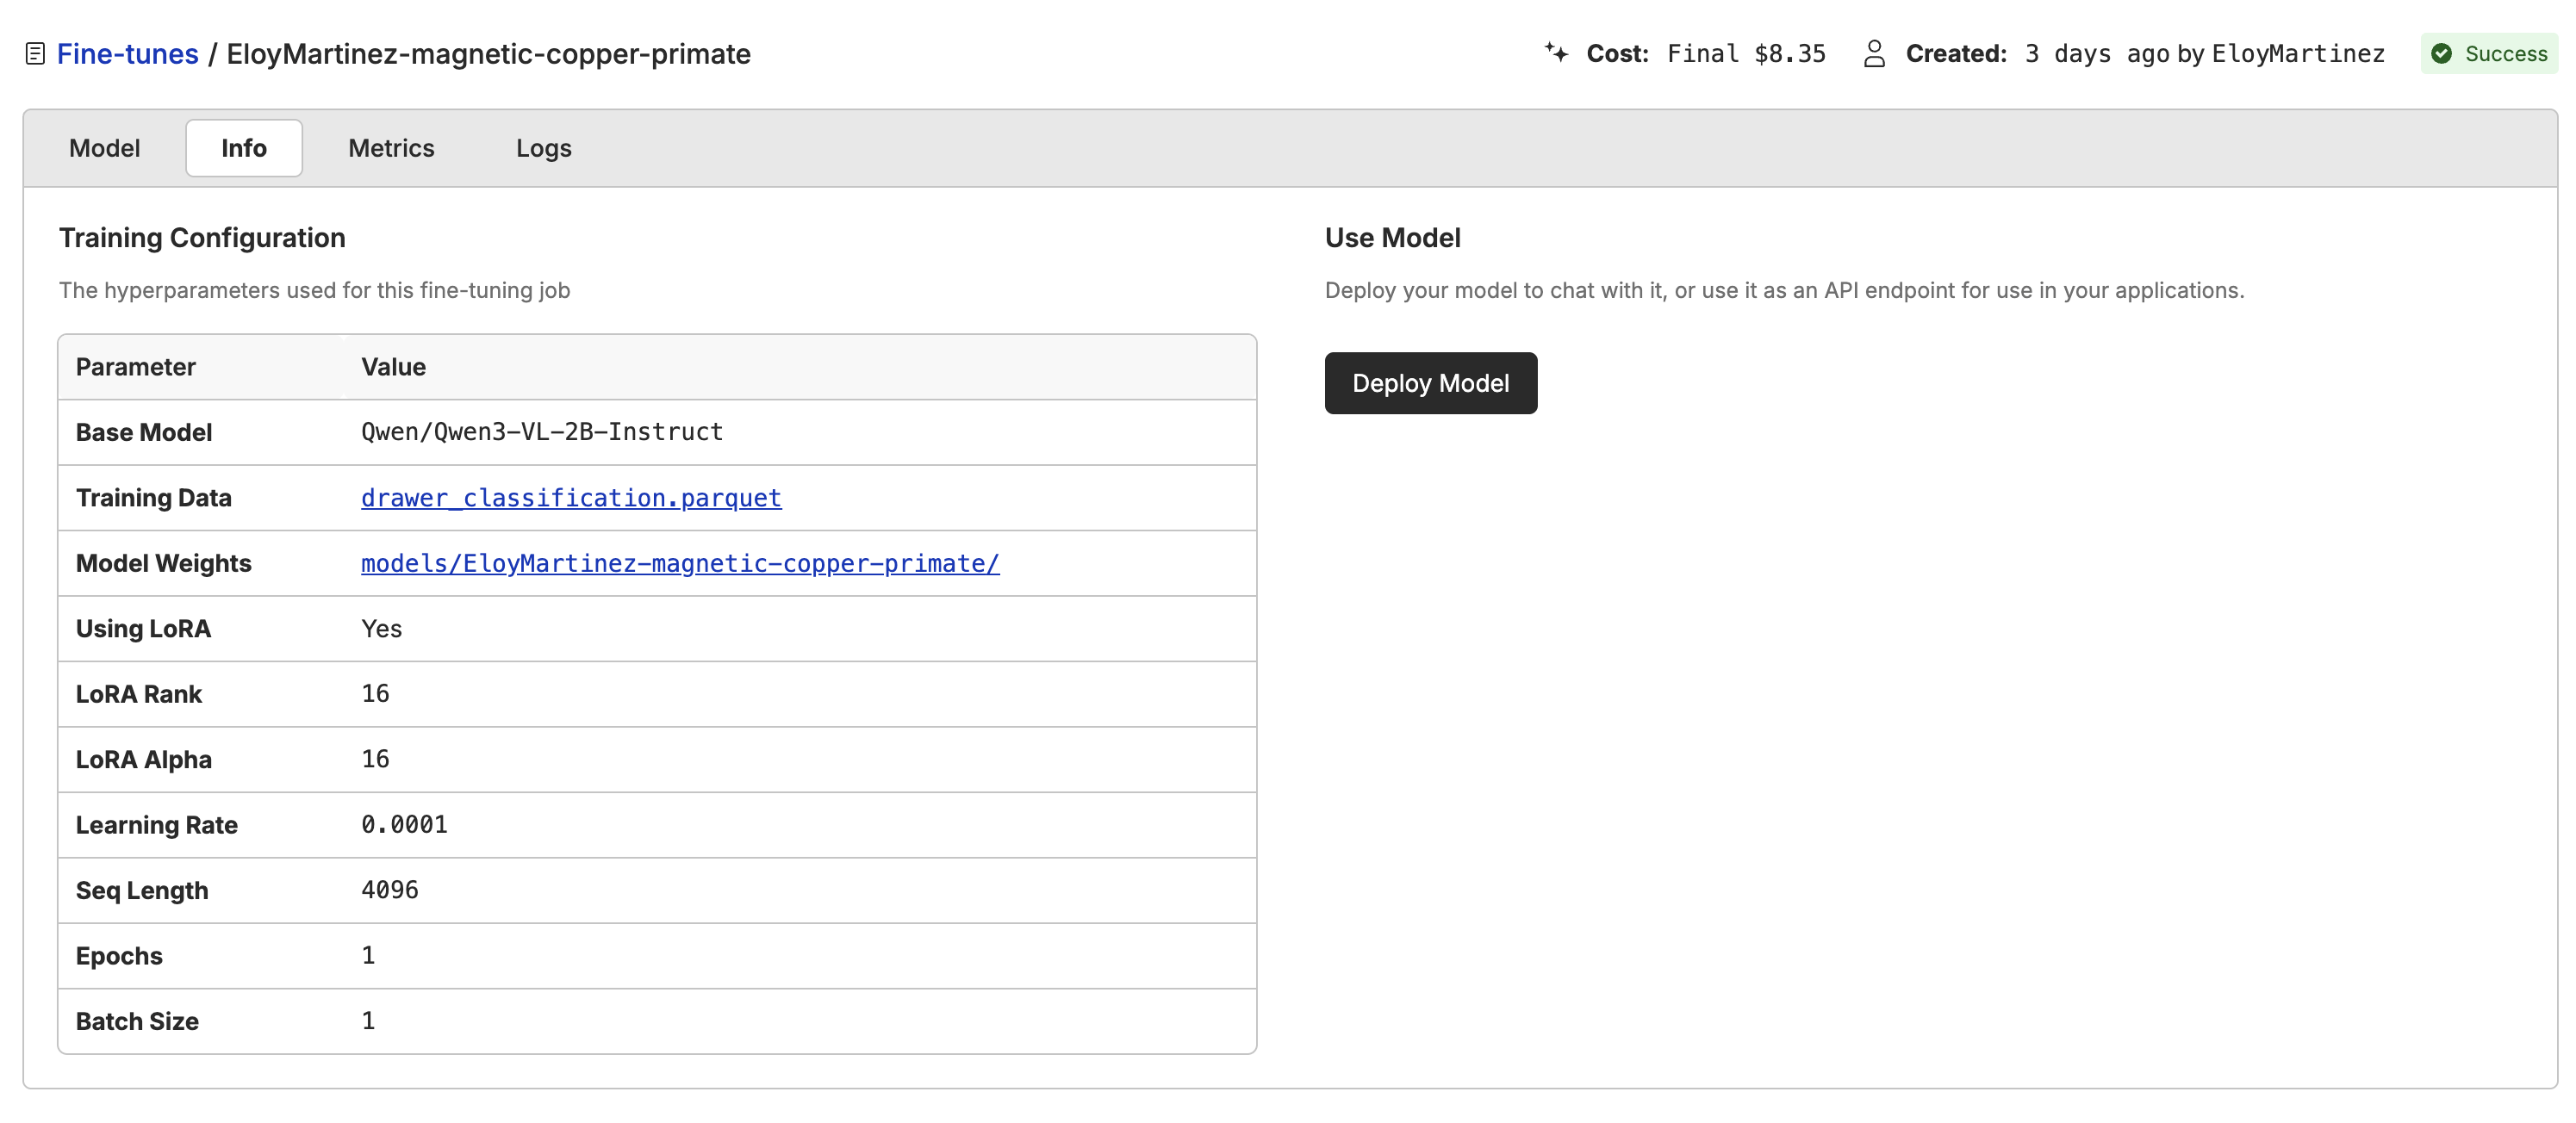
model name with the name of your deployed model.