Fetching the Rows
TheRemoteRepo class along with the DataFrame class make it easy to fetch and write data from a data frame in a repository. Specify the namespace, repository name, and path to the data frame in order to fetch data.
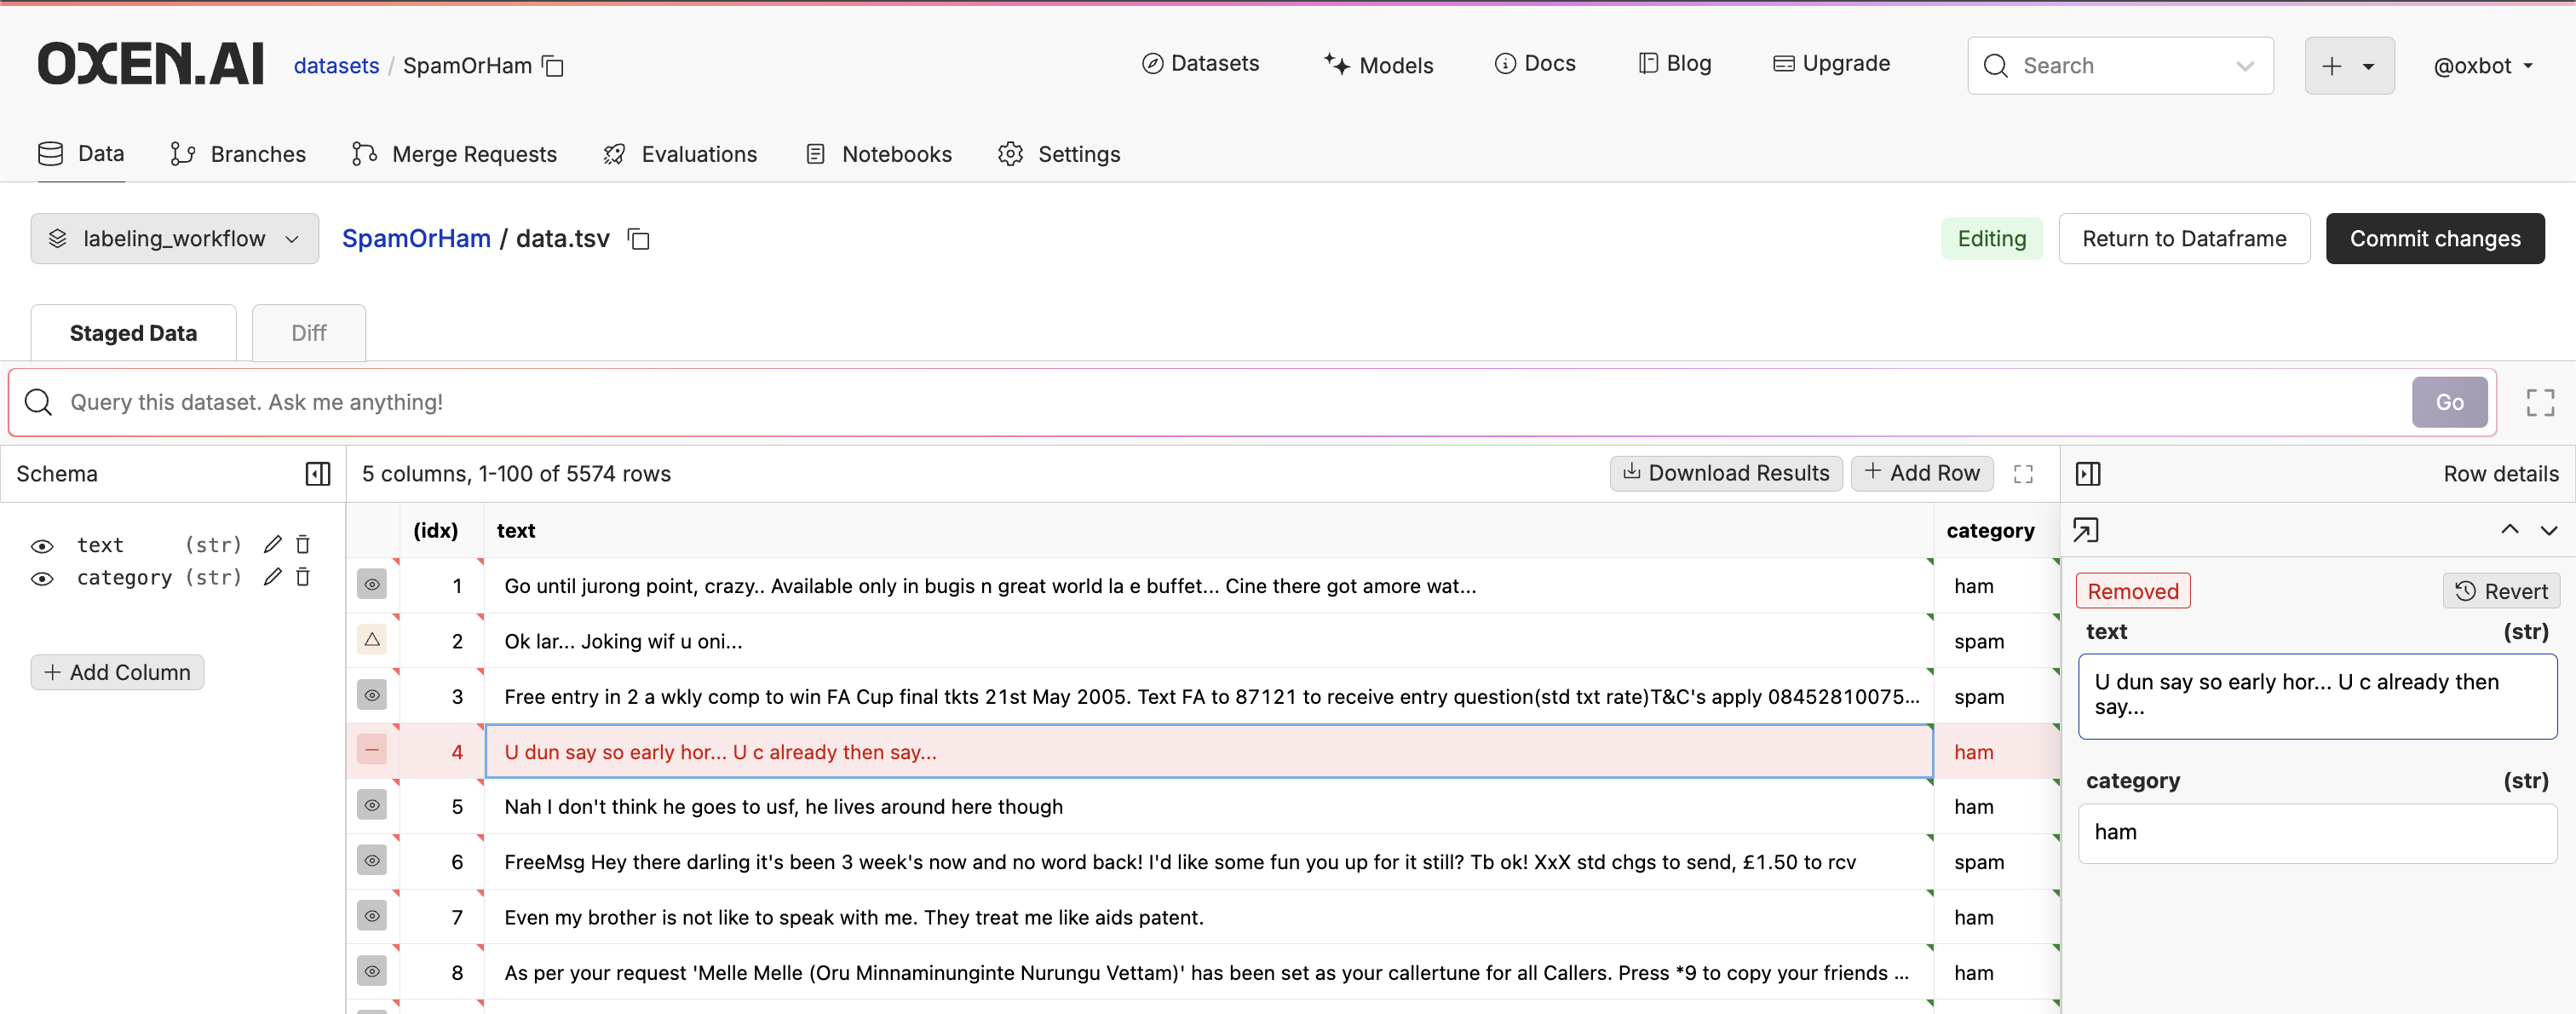
In order to write data back to the data frame, we need to specify a workspace_name when instantiating the DataFrame class. This is because the data frame will be written back to a temporary workspace before being committed. This allows you to see the changes in the UI before writing them to the commit history.
get_row method. This will return a Row object at the index specified.
size() function to determine the width and height of the data frame.
Iterating through the data frame
Let’s add some helper functions to increment and decrement the index, and get the row at the current index.Updating the Rows
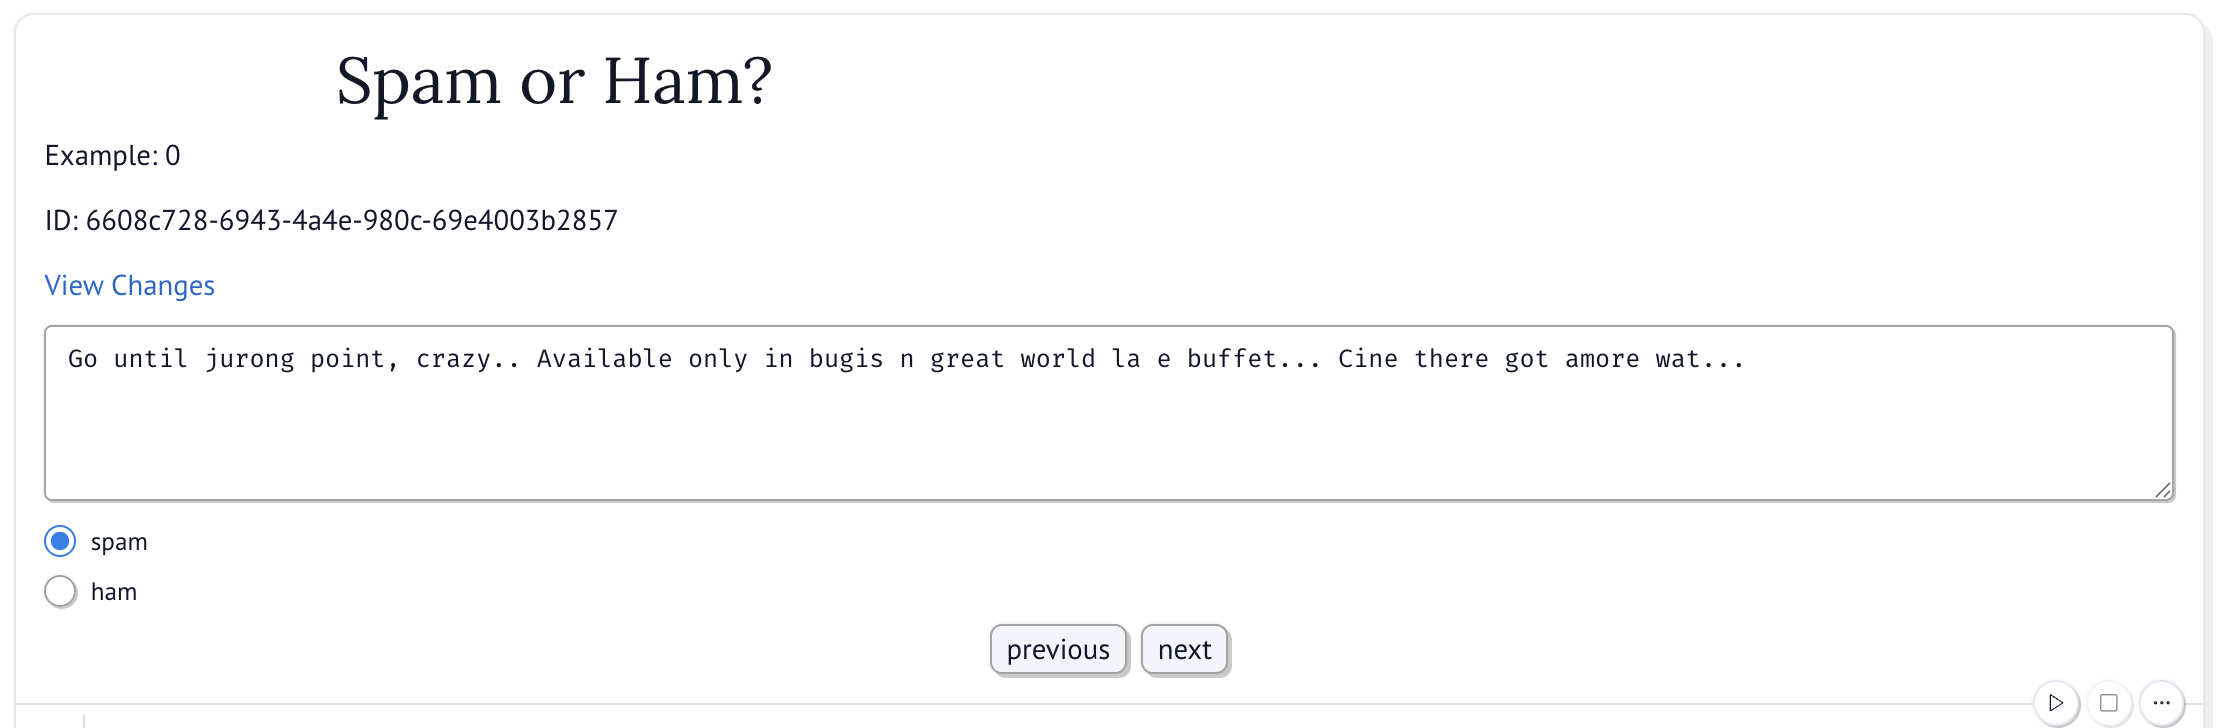
Thelabel_picker will call the update_category function when the user selects a new label. This function will update the category in the data frame.
Setting up the UI
We will keep track of which row is being labeled using themo.state reactive state variable. This sets up a getter and setter for the state variable.
Viewing changes
The changes will be written back to a temporary workspace. We can view the changes by clicking the “View Changes” link in the UI. This is populated with theworkspace_url method on the DataFrame class.